Quilted Bookmark Tutorial
Written by Natasha ·
Turn quilt batting scraps into a quick-win project — a bite-size quilt for the reader in your life.
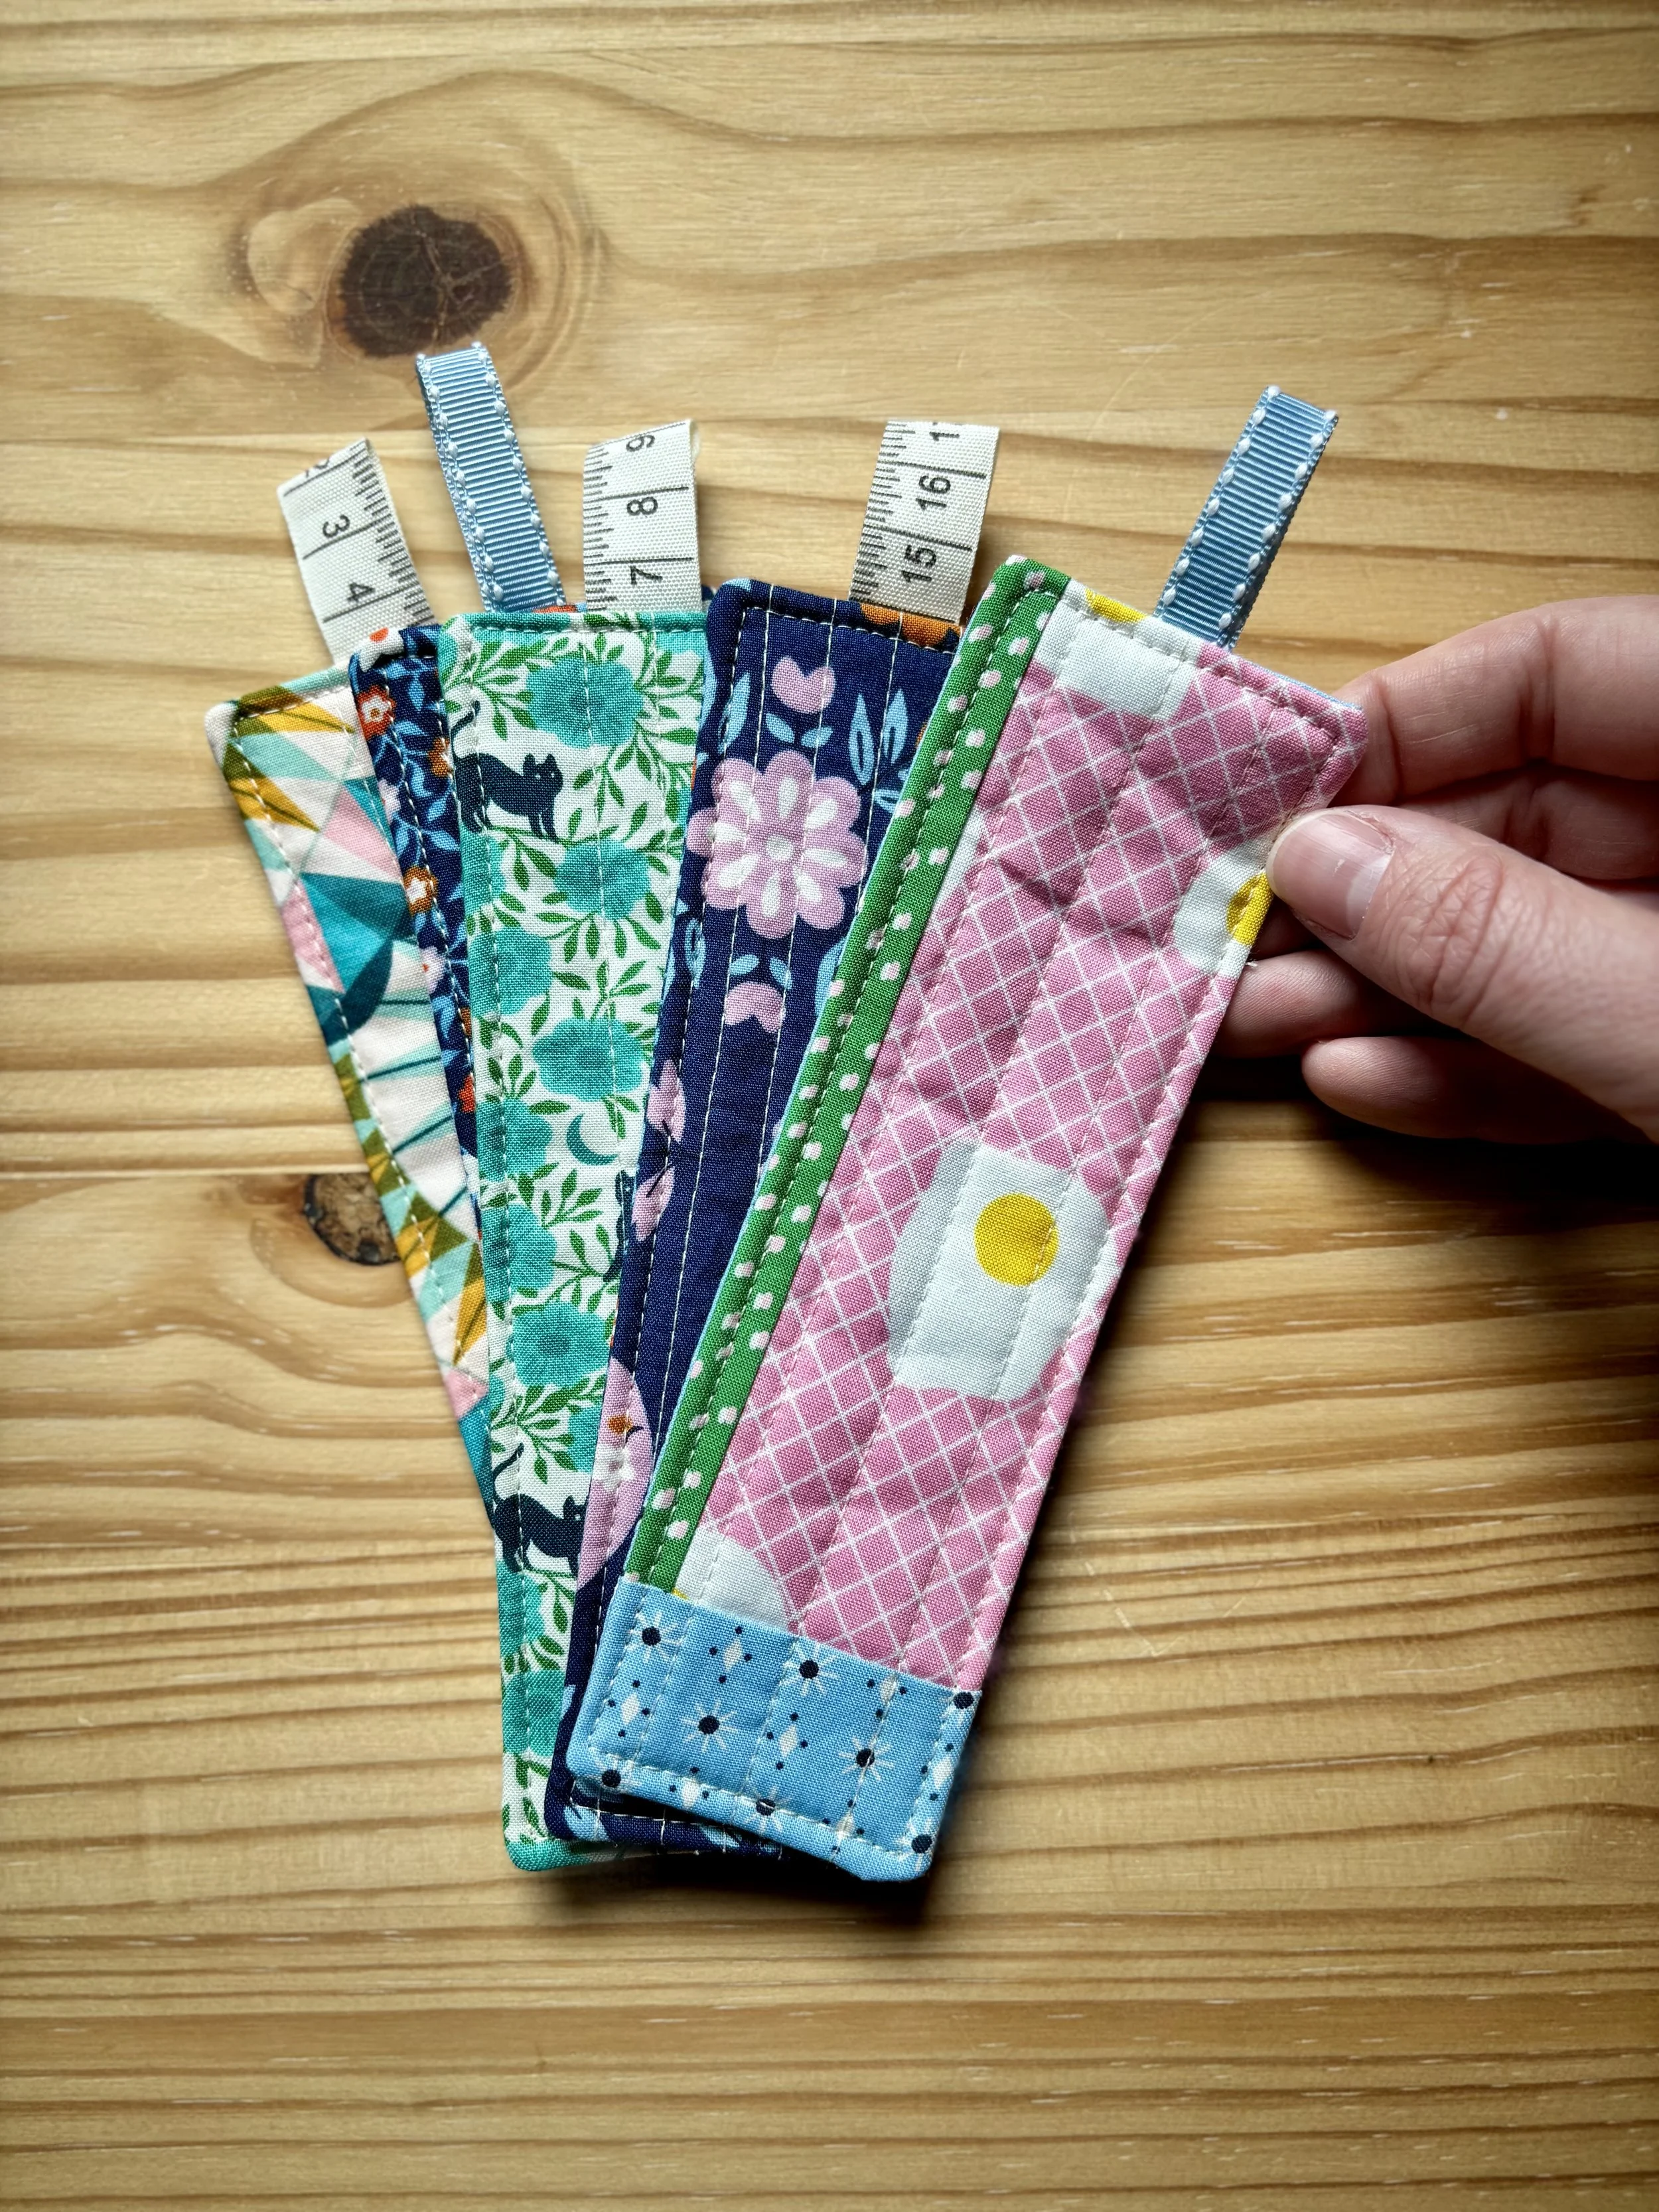
Turn quilt batting scraps into a quick win quilted project. These are a perfect small gift for the reader in your life.
Overview
These quilted bookmarks come together in no time and are great for using your leftover pieces of quilt batting. They can be batch sewn and make fun teacher gifts or stocking stuffers. Once you make one, you’ll definitely want to make more!
Supply list
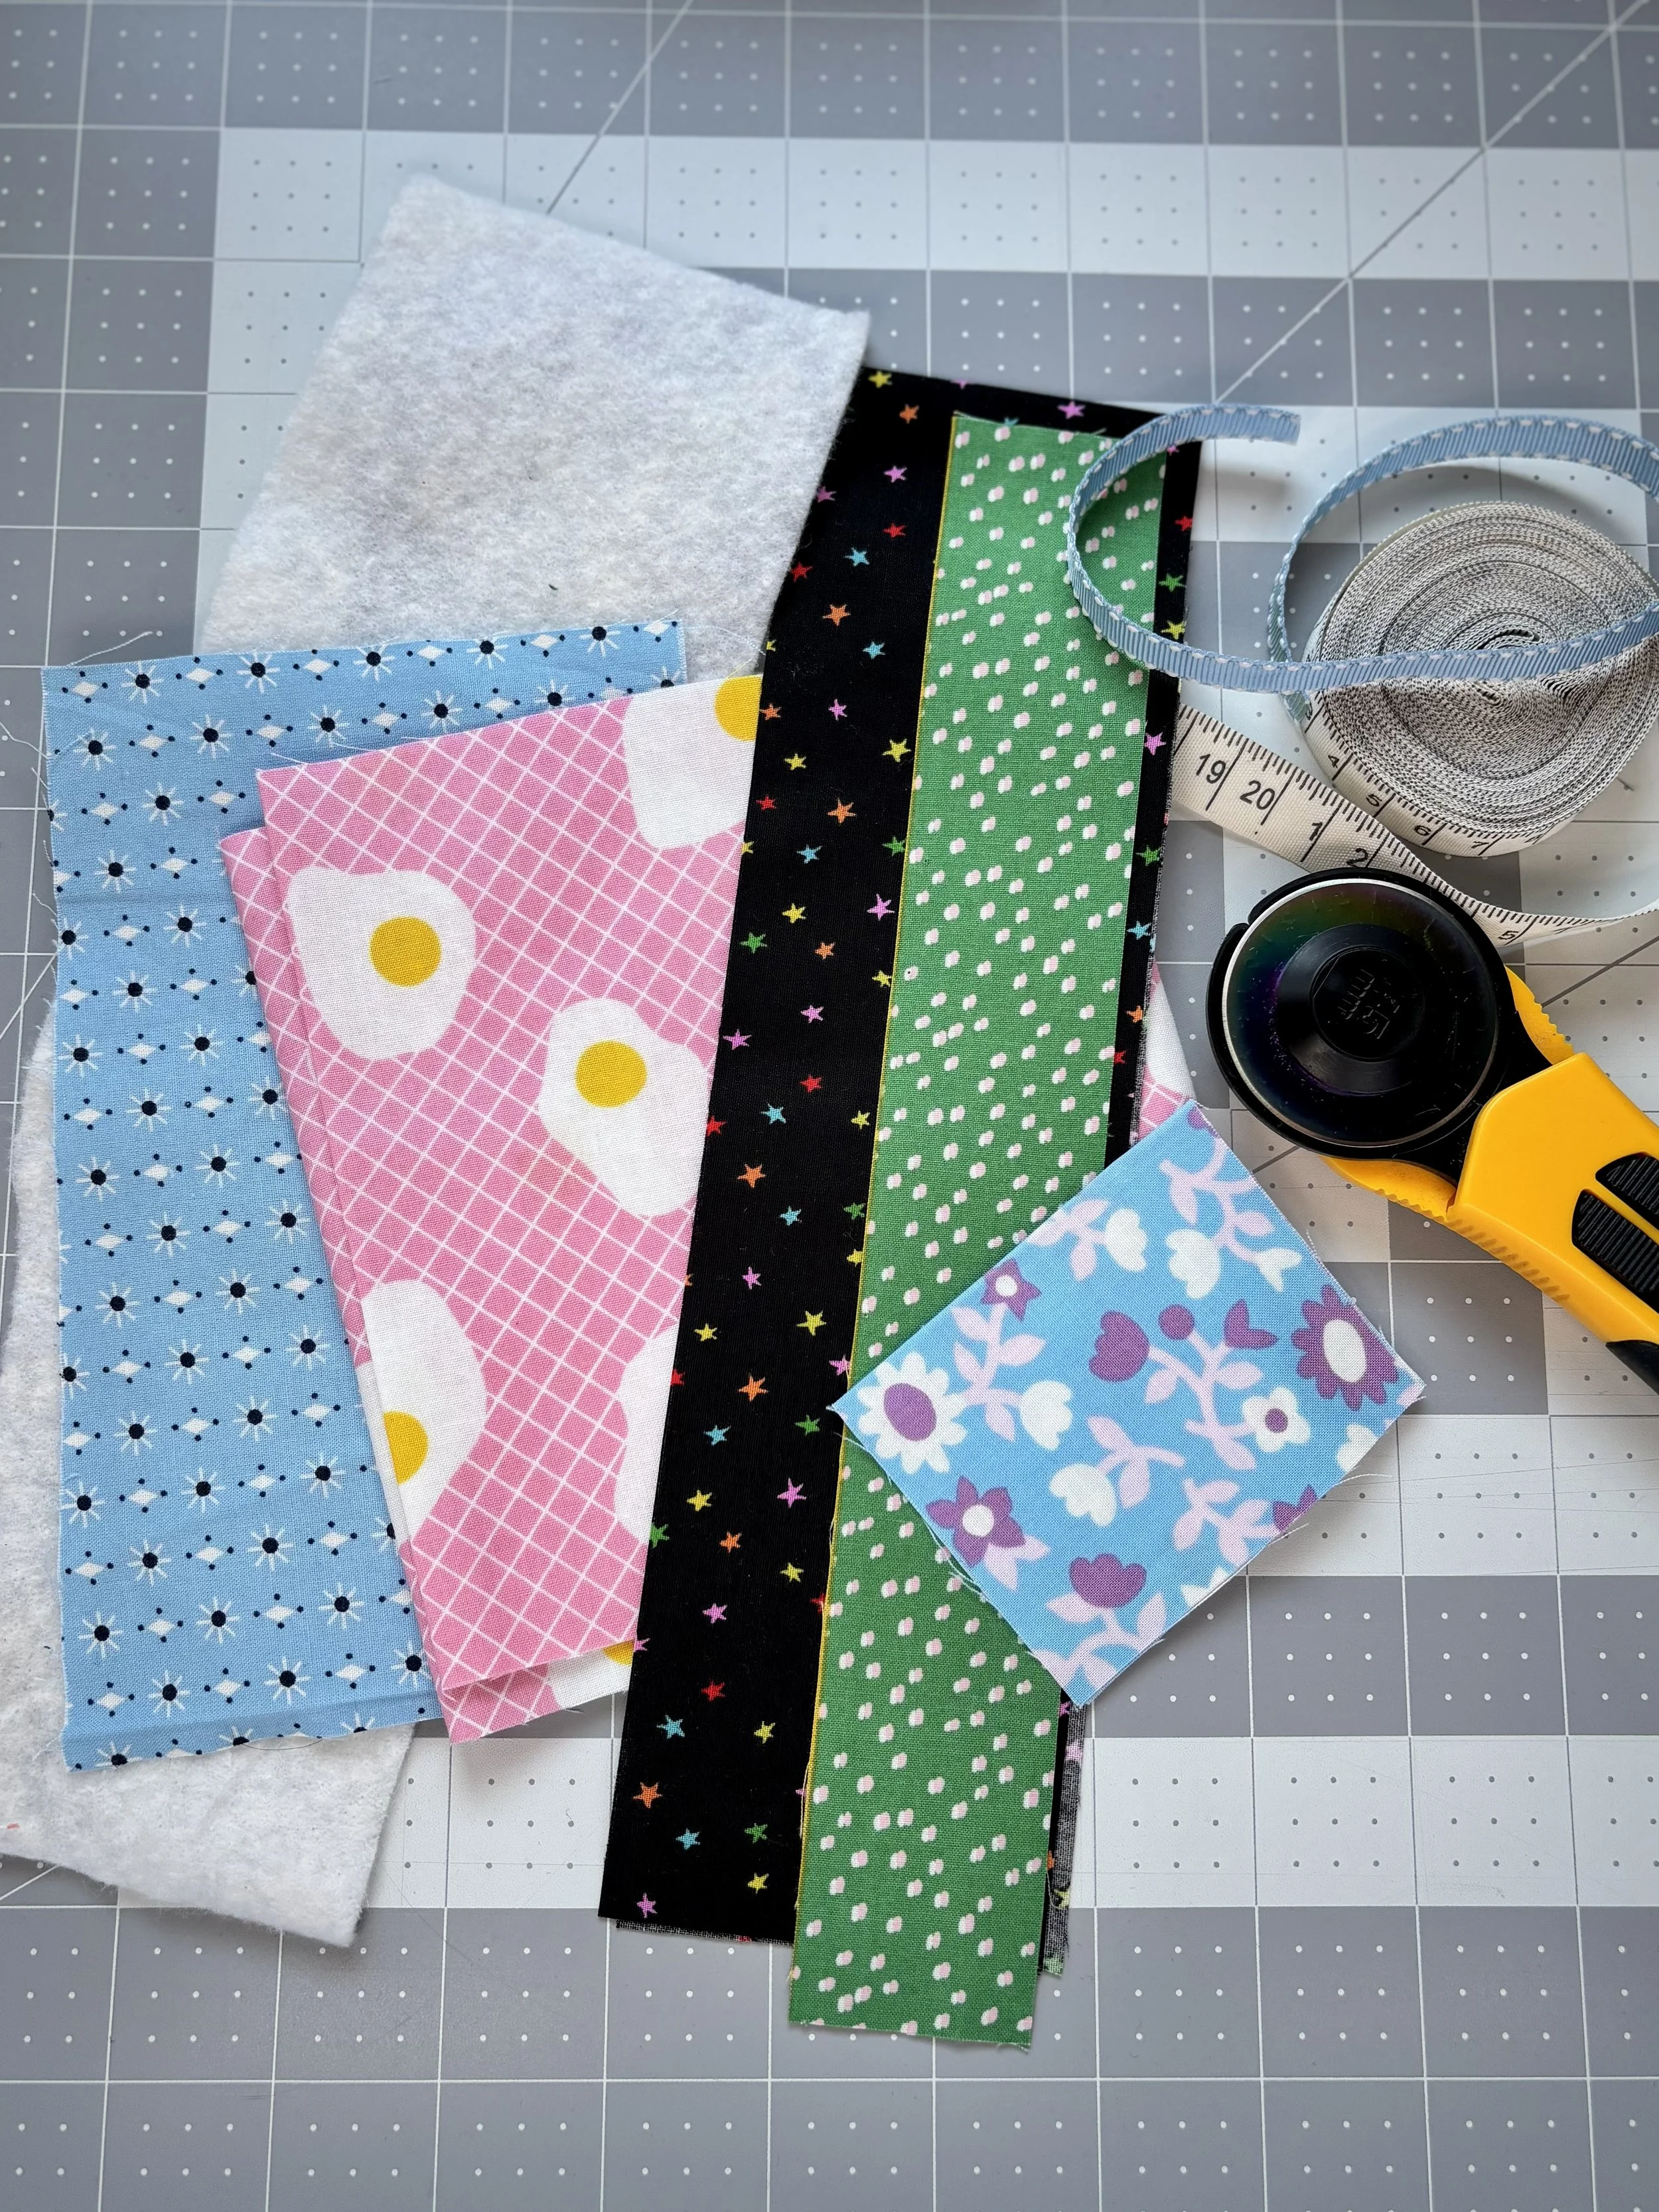
What you’ll need:
- 2 pieces of ~2.5” x 7” cotton fabric (I used Ruby Star Society fabrics from various collections) for the main and back of the bookmark
- Scrap piece of quilt batting slightly larger than the quilting cotton fabric
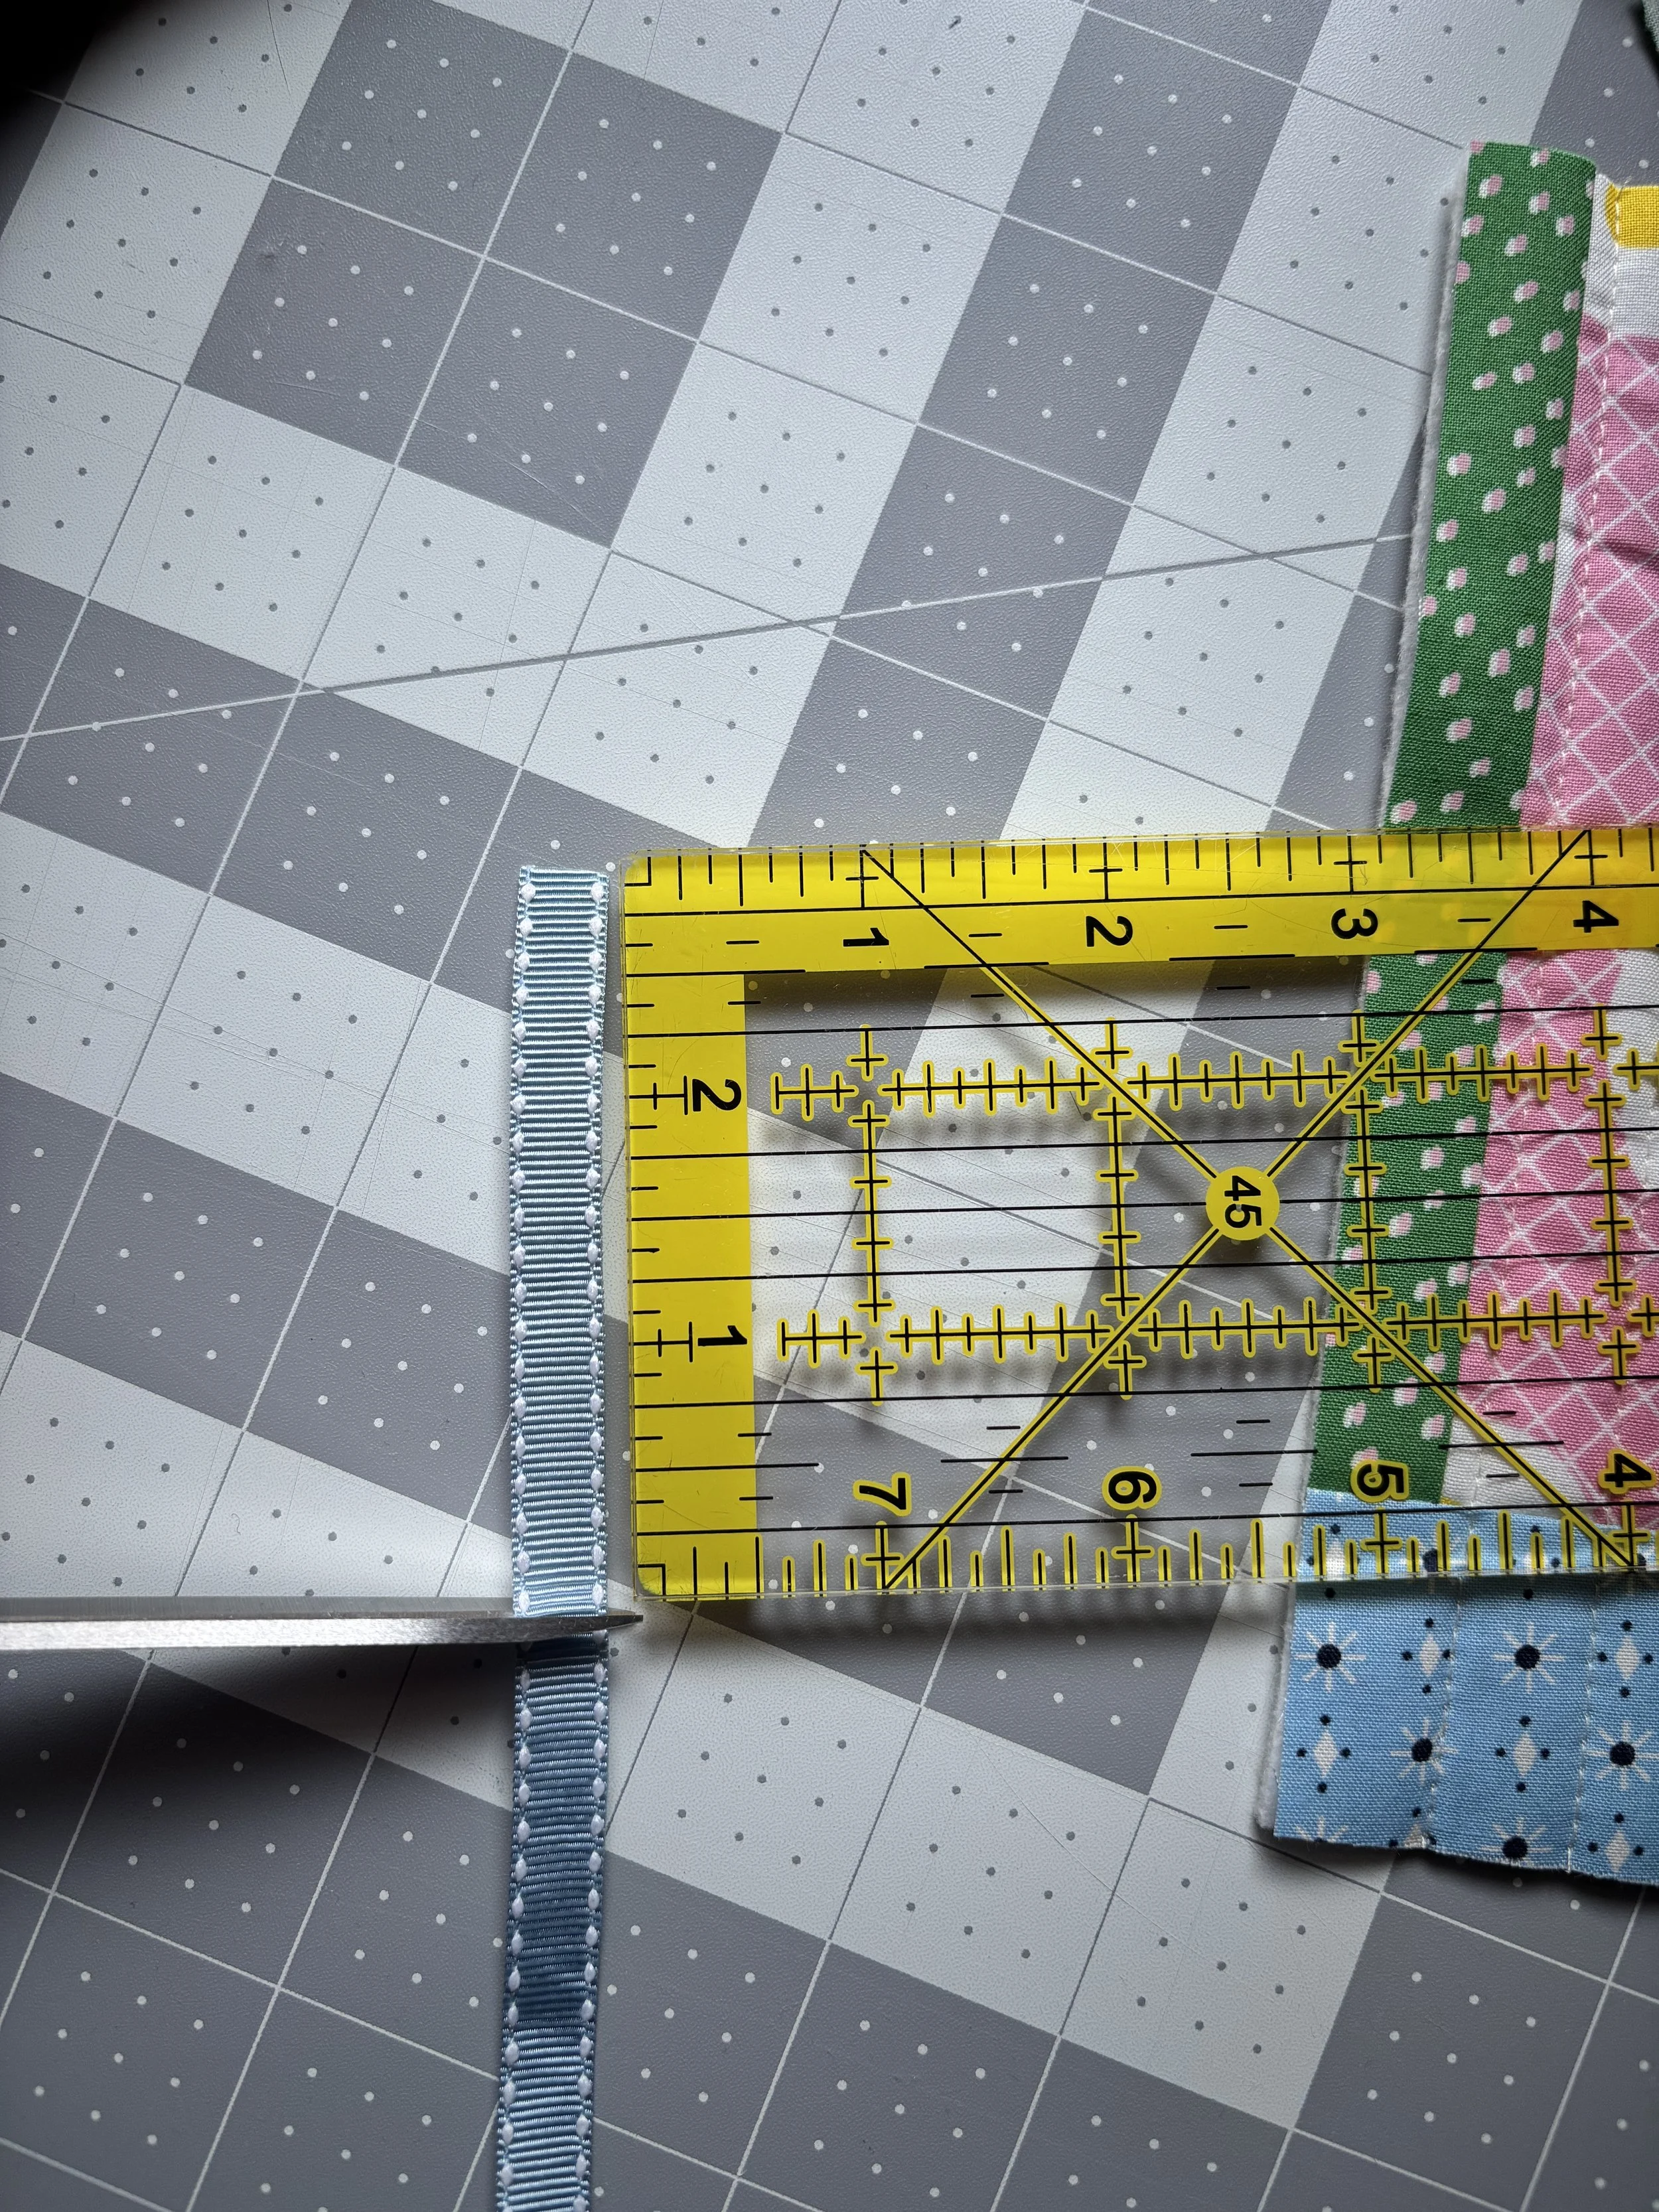
- 3” length of ribbon
- General sewing notions (sewing machine, rotary blade, cutting mat, ruler, pins/clips, cotton thread, iron, hera marker, hump jumper etc.)
Step-by-step instructions
Begin by cutting your fabrics to size. Feel free to use smaller scraps and sew them together to a size of roughly 2.5” x 7”.
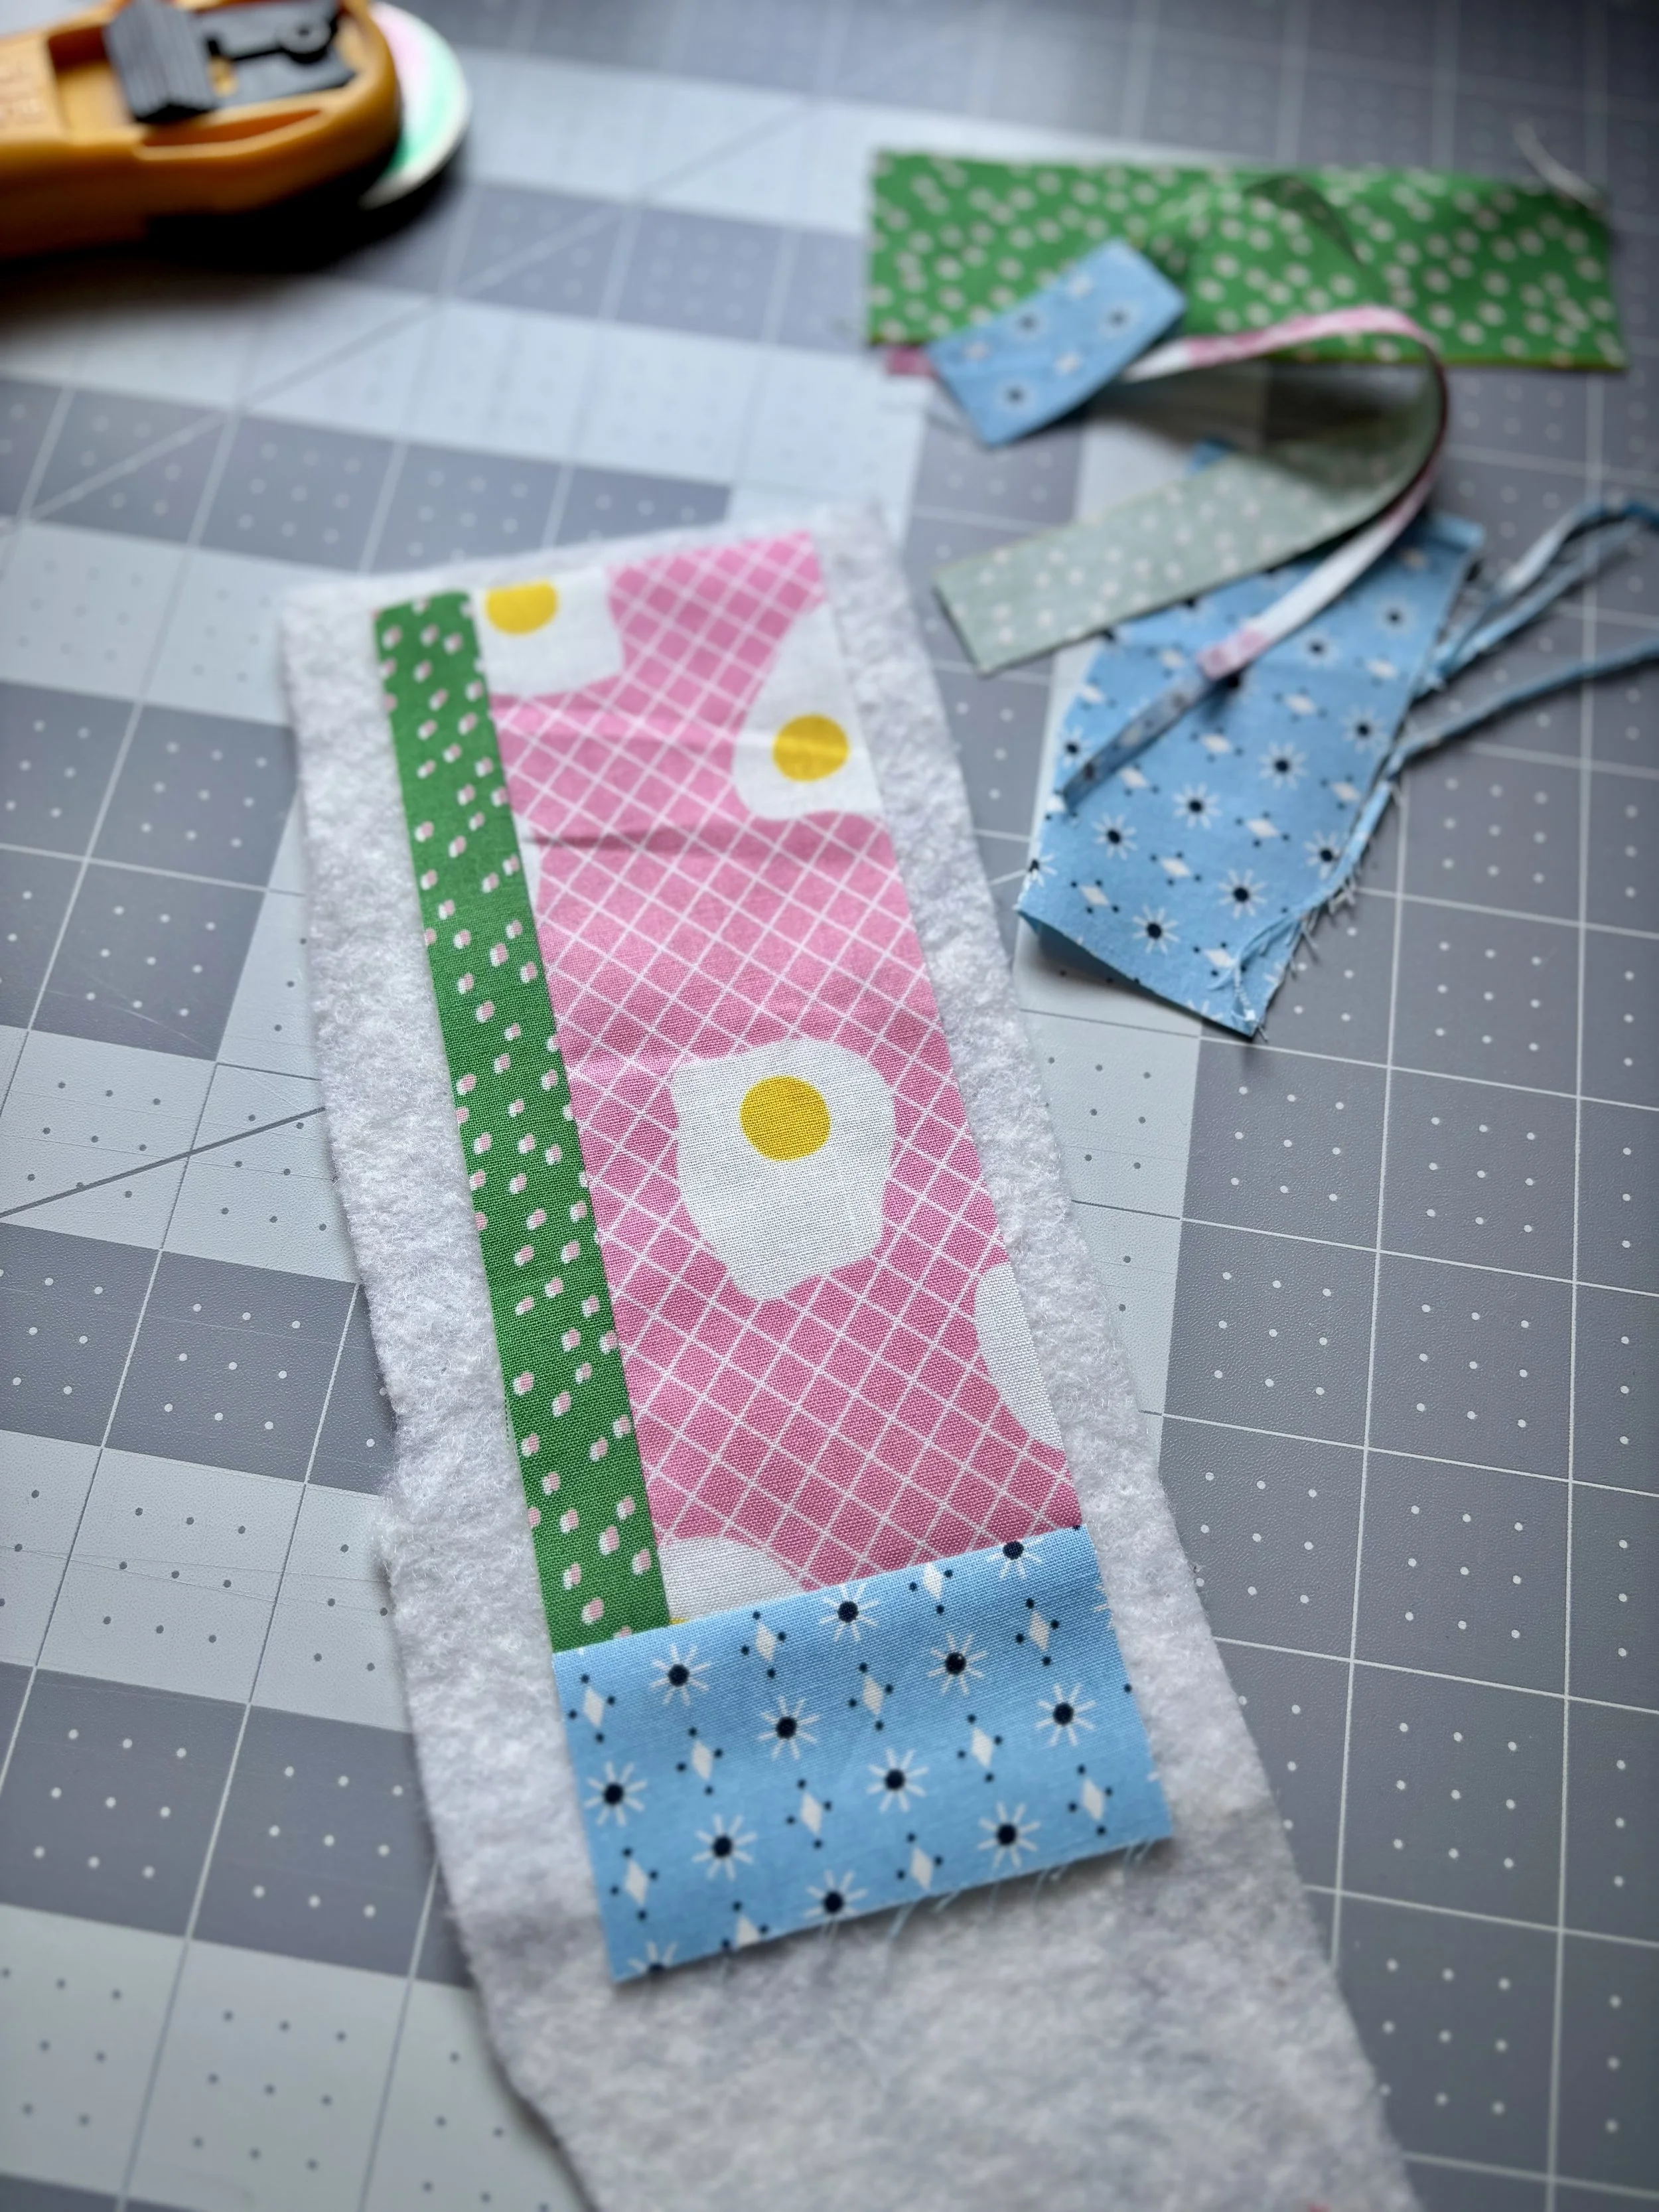
Lay main fabric on top of quilt batting scrap. Mark quilting lines with a Hera marker, if desired. I stitched vertical lines starting from the center and then a 1/2” to either side.
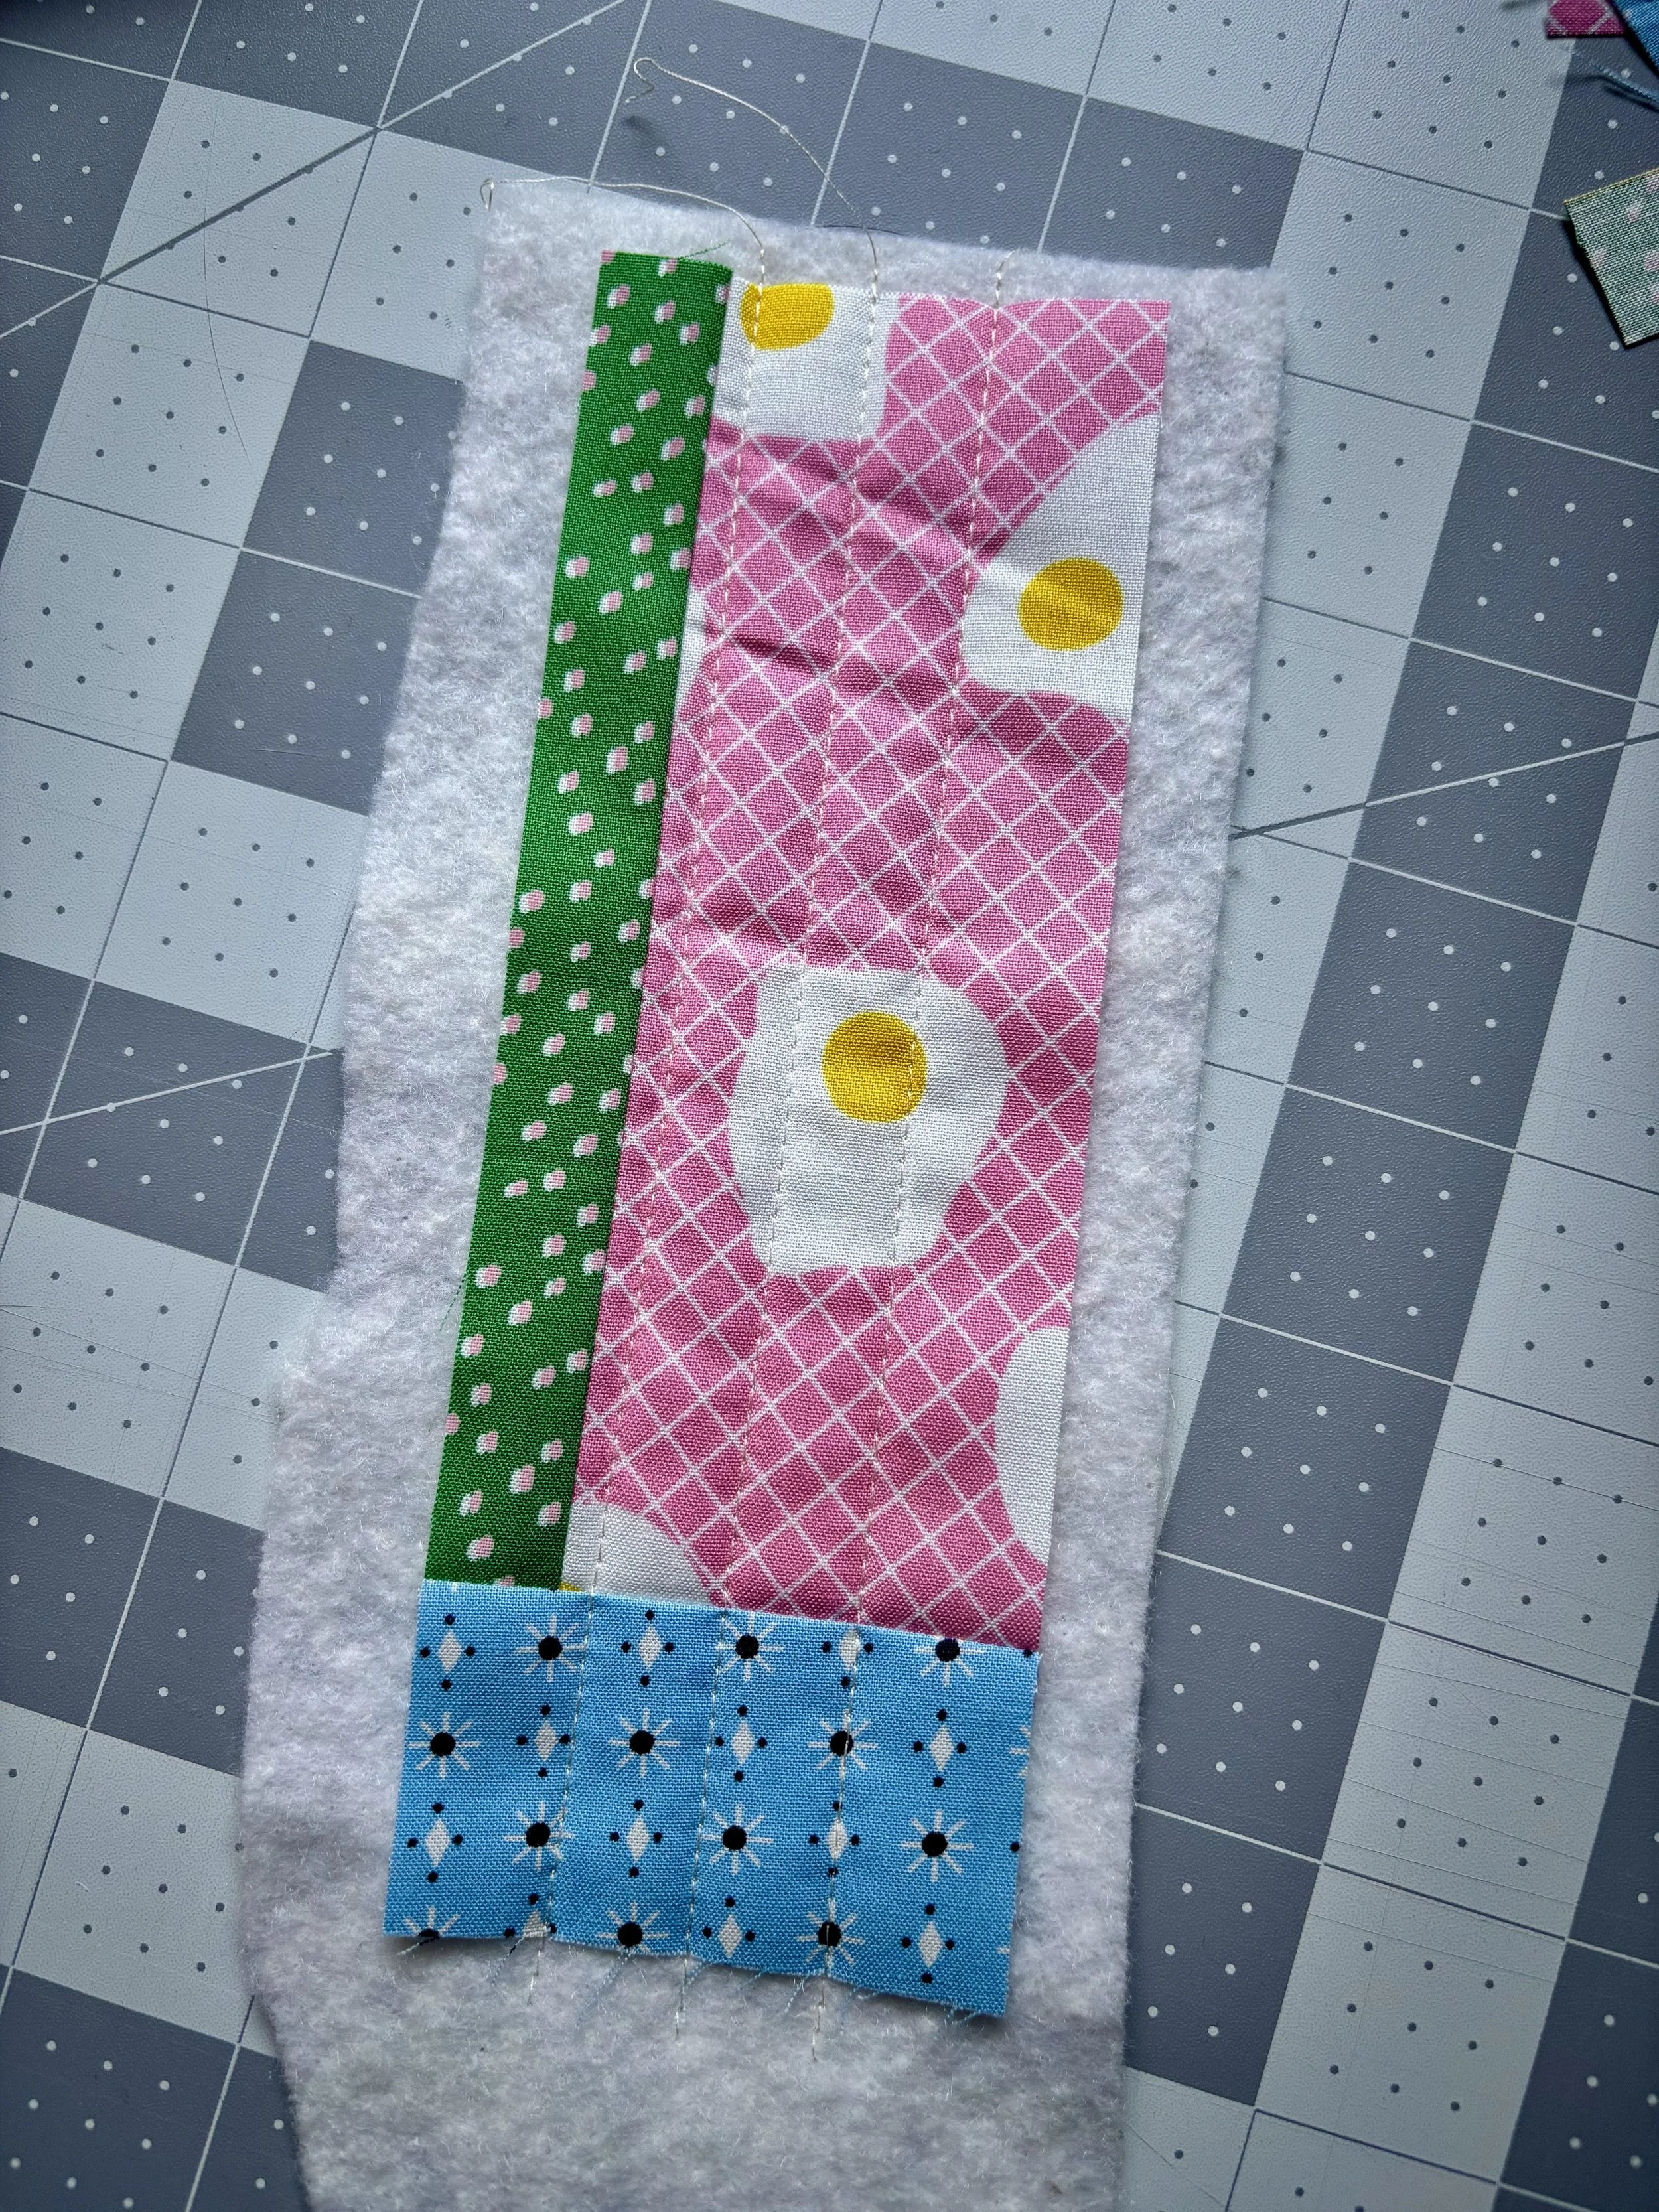
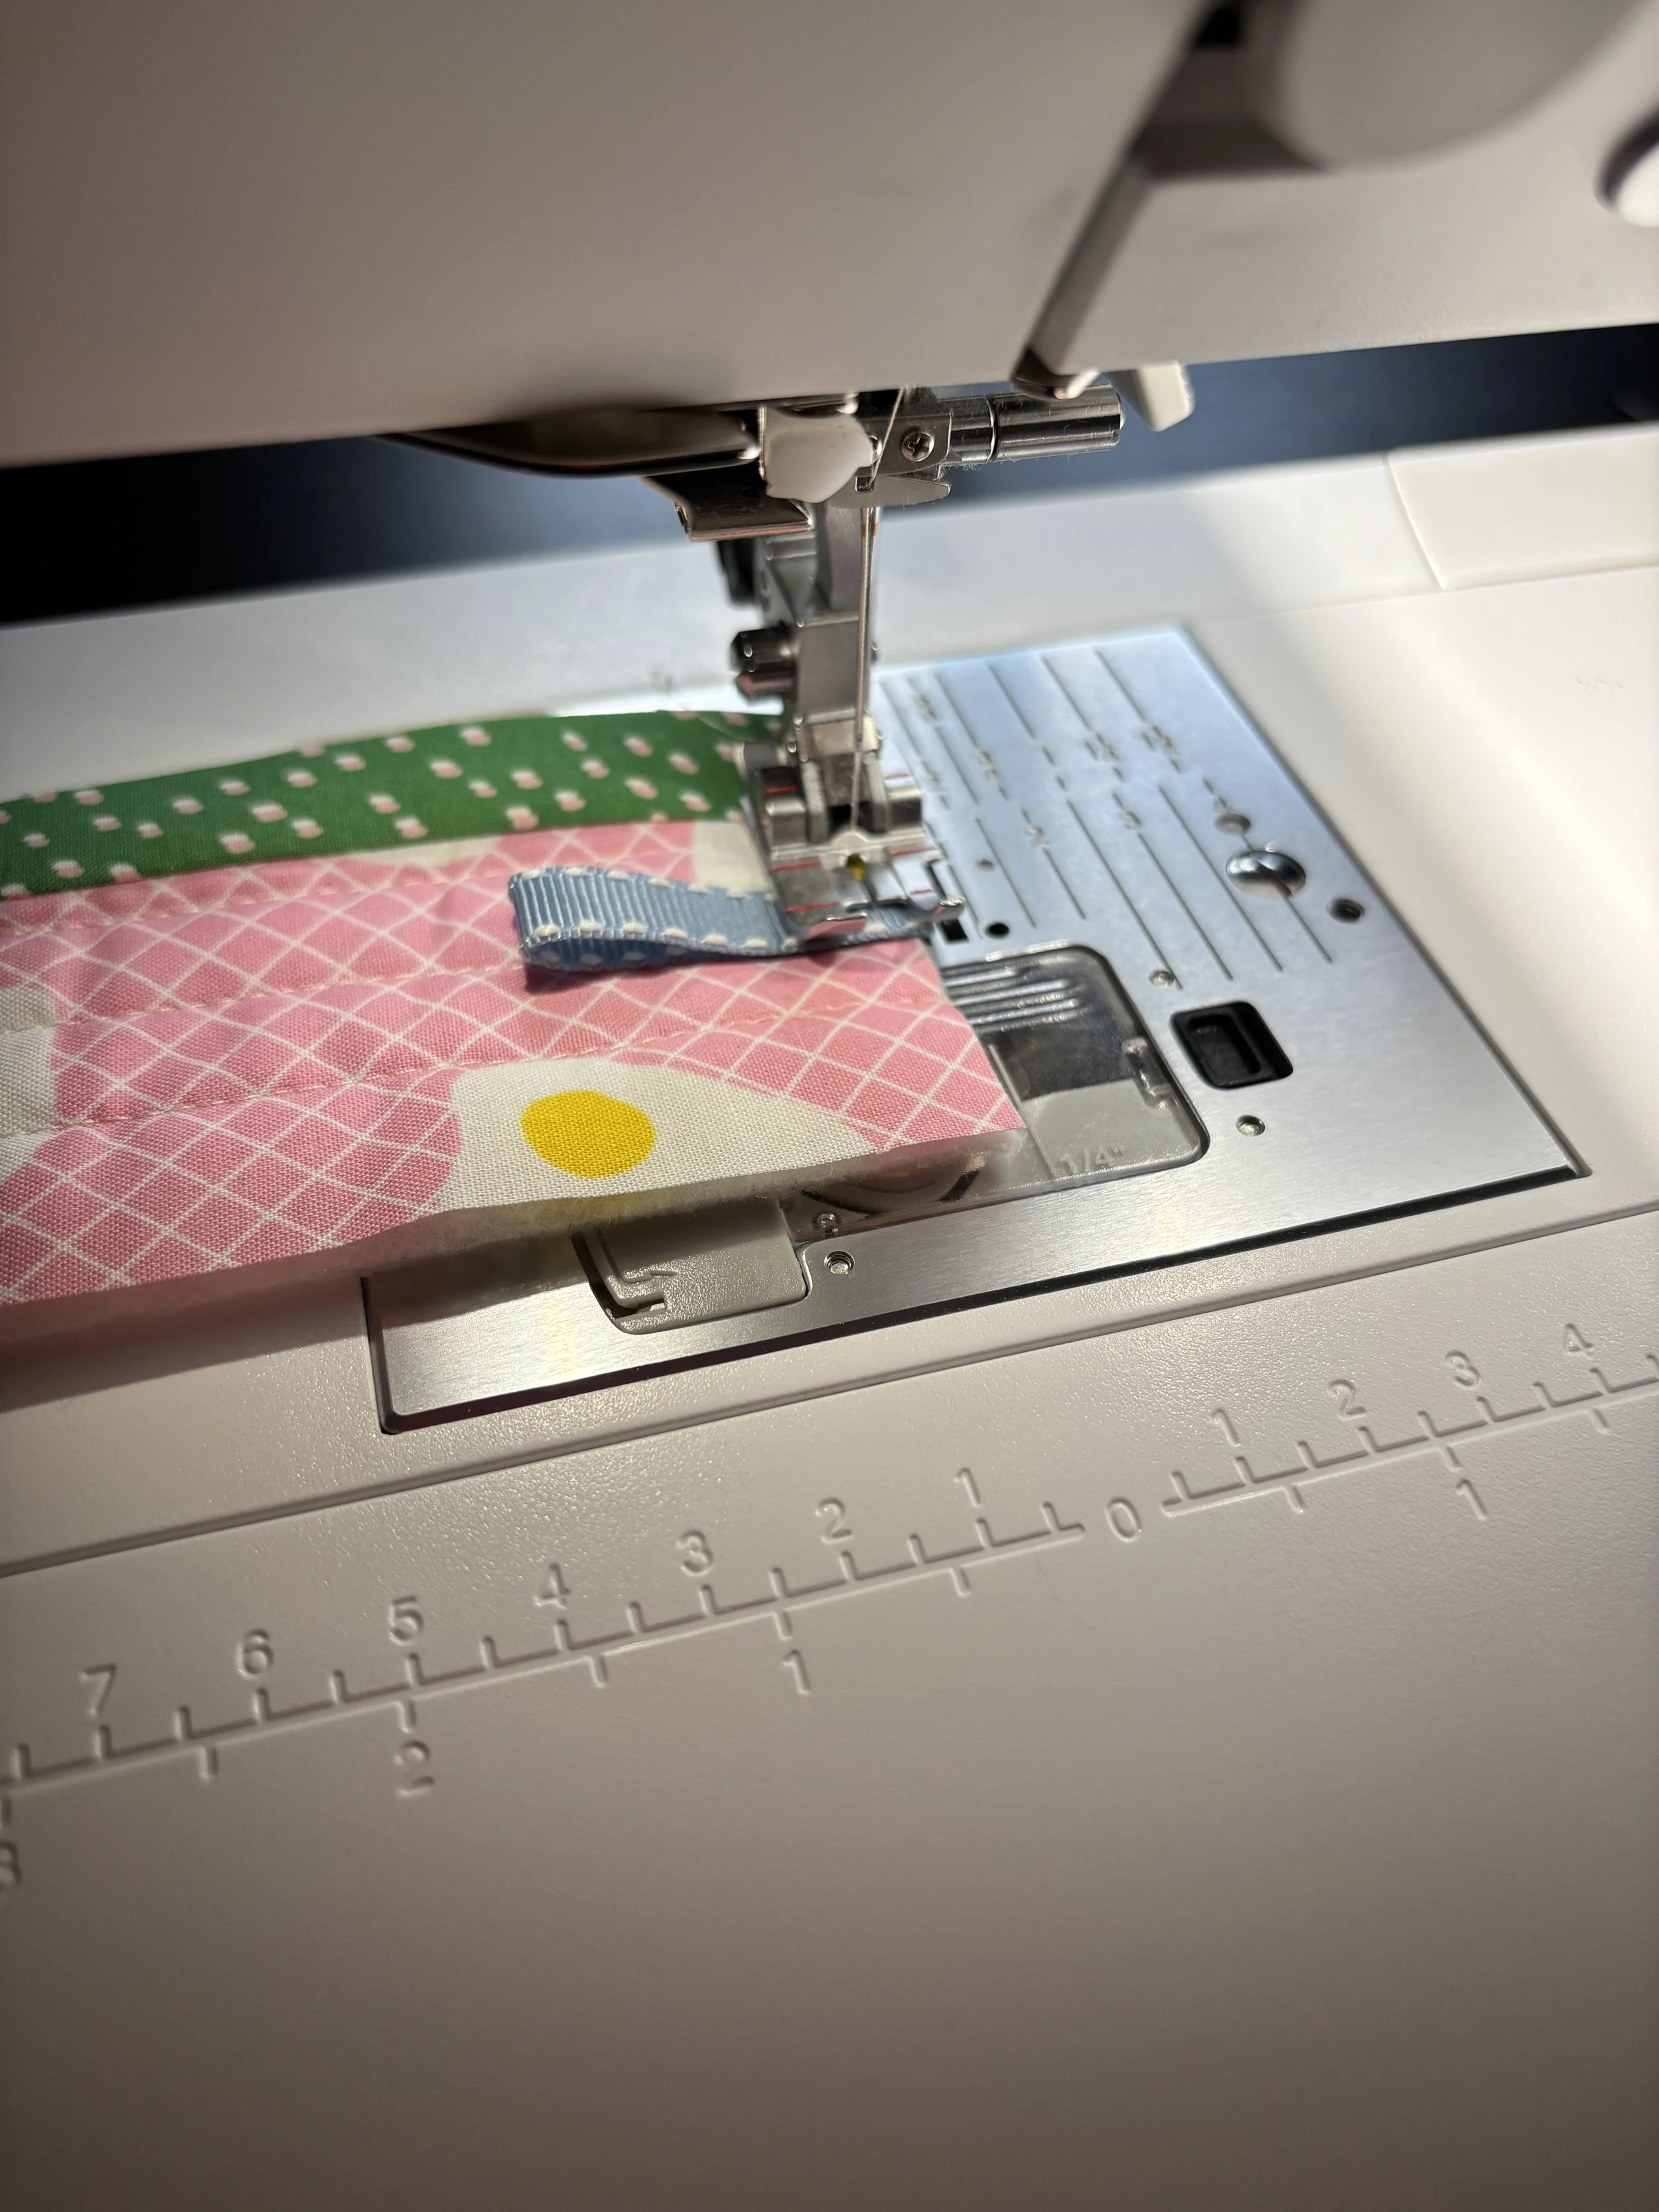
Trim excess quilt batting. Fold ribbon in half with the ends centered, and slightly overhanging (about 1/8”) the edge of the top of the bookmark. Baste in place.
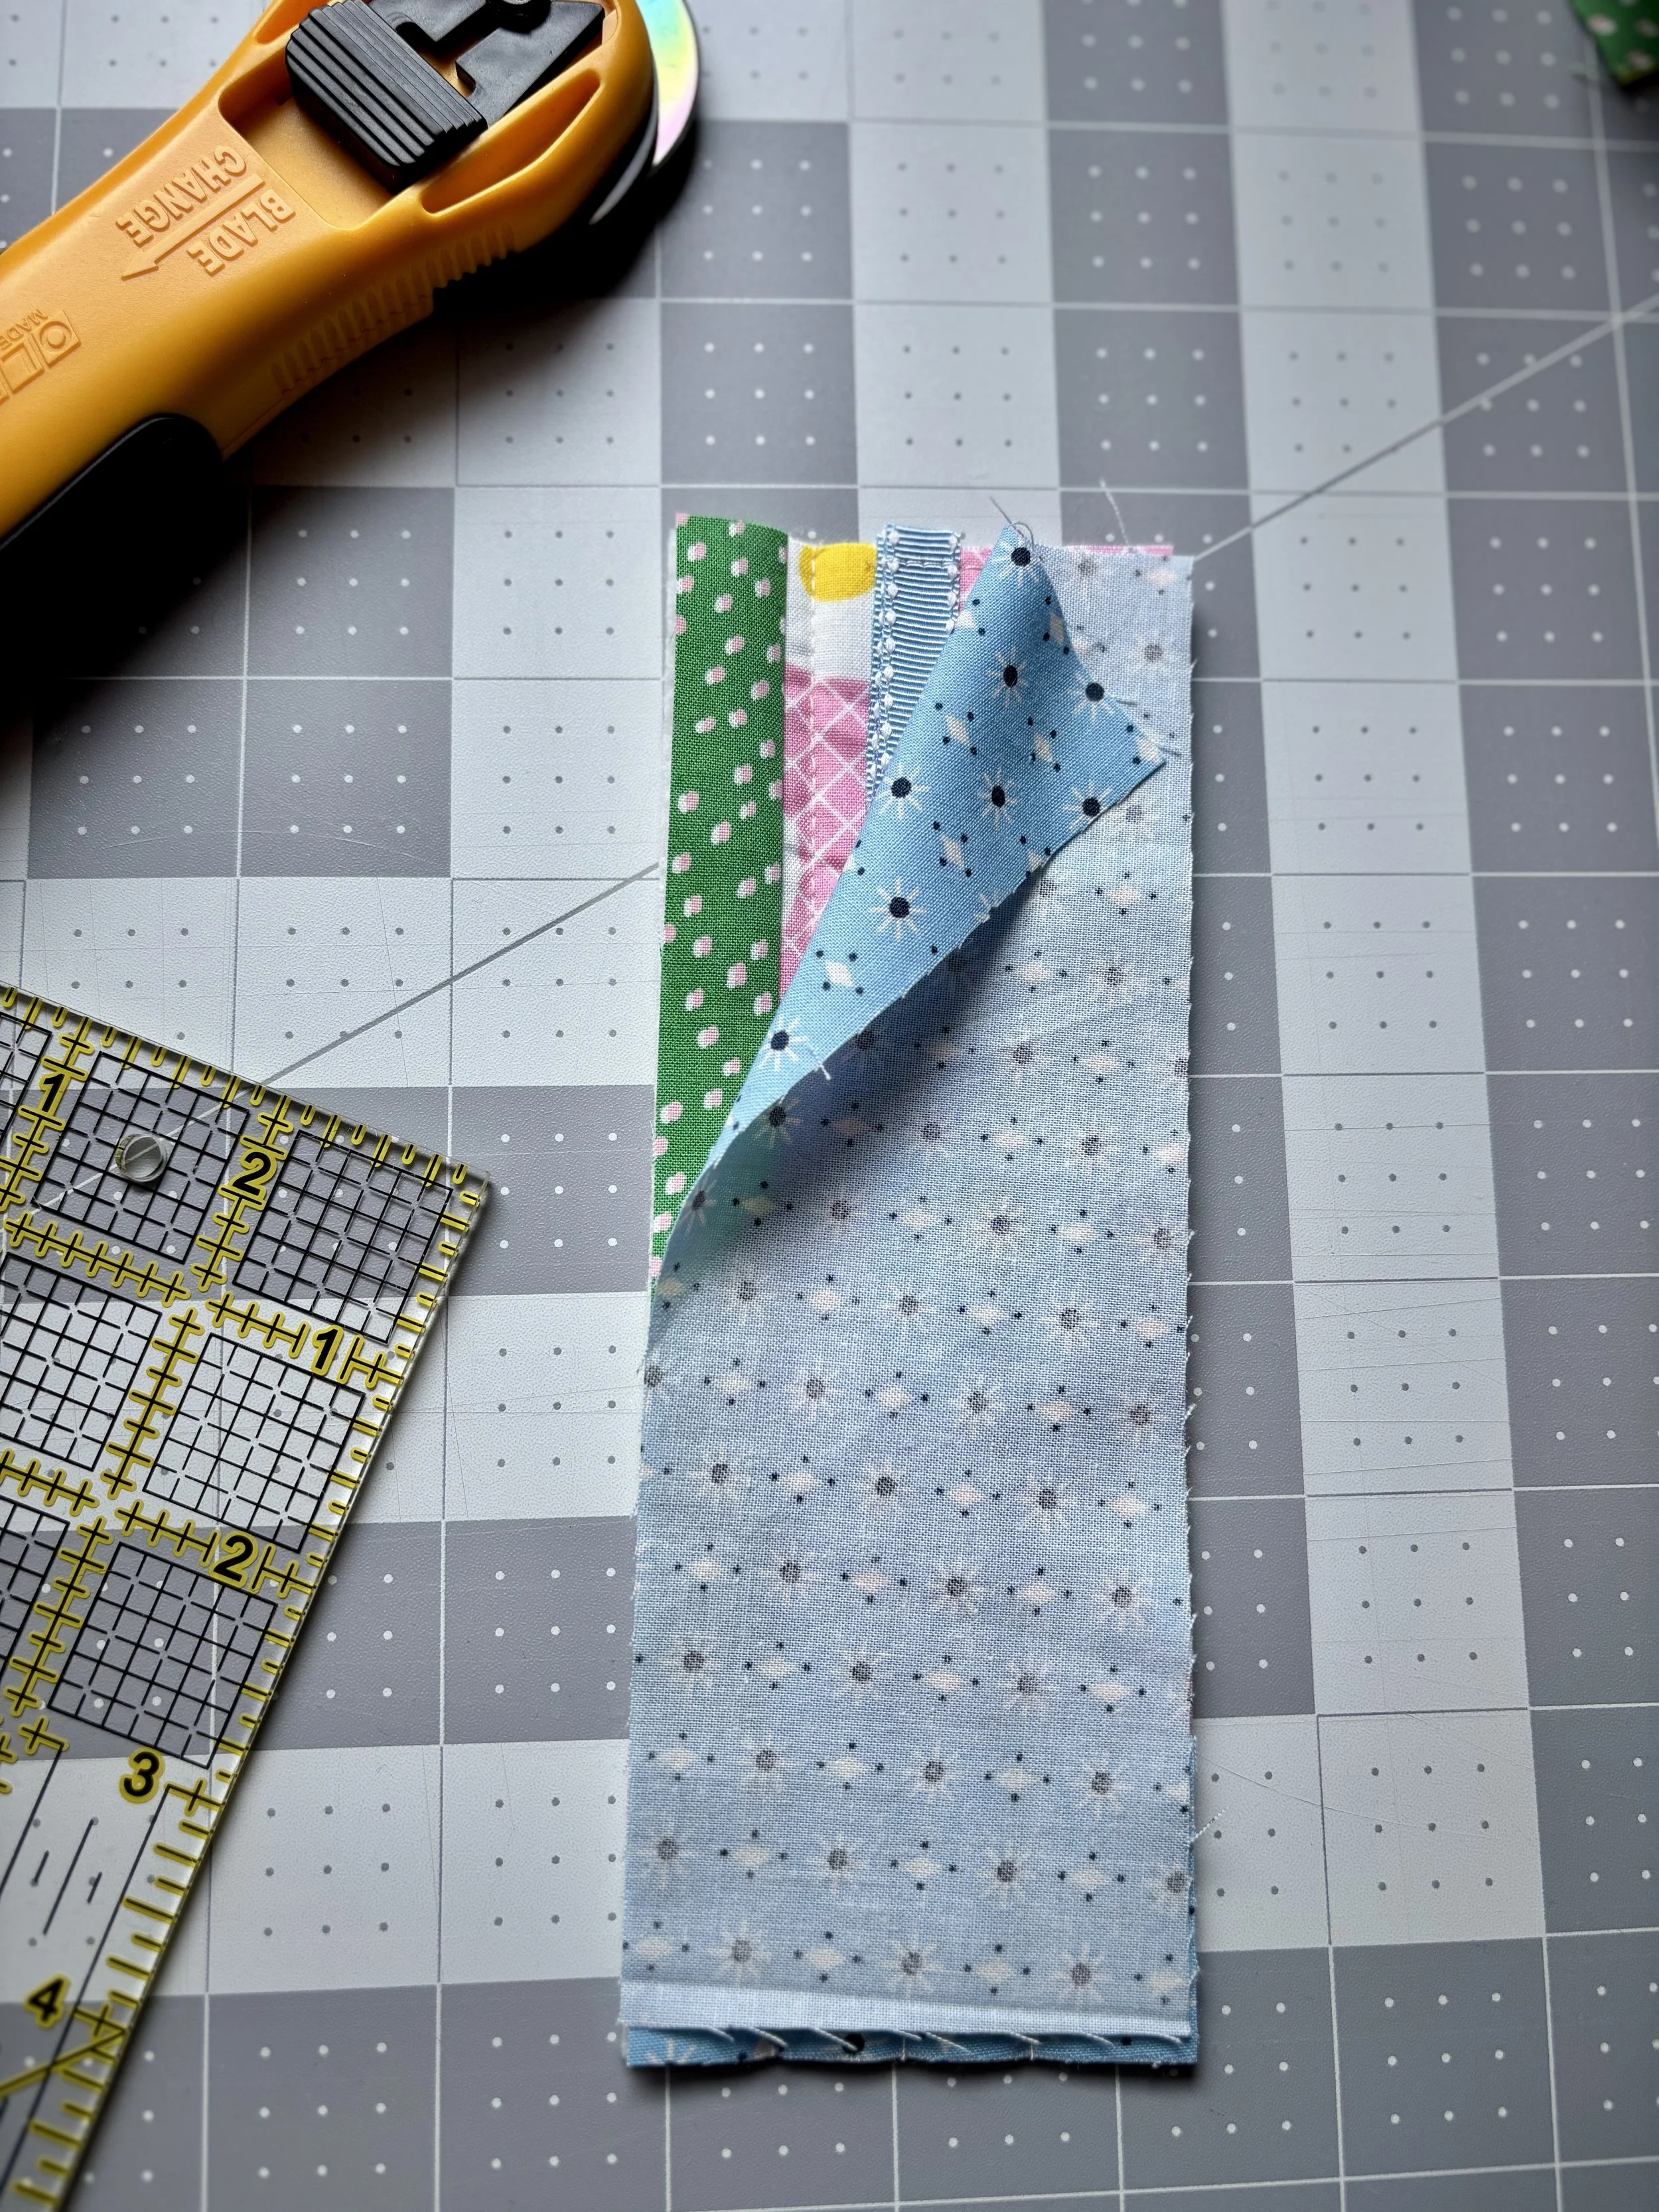
Lay backing fabric right sides together with quilted main fabric and stitch using a 1/4” seam allowance. Leave an opening of about 2.5” for turning. Backstitch at both the beginning and end.
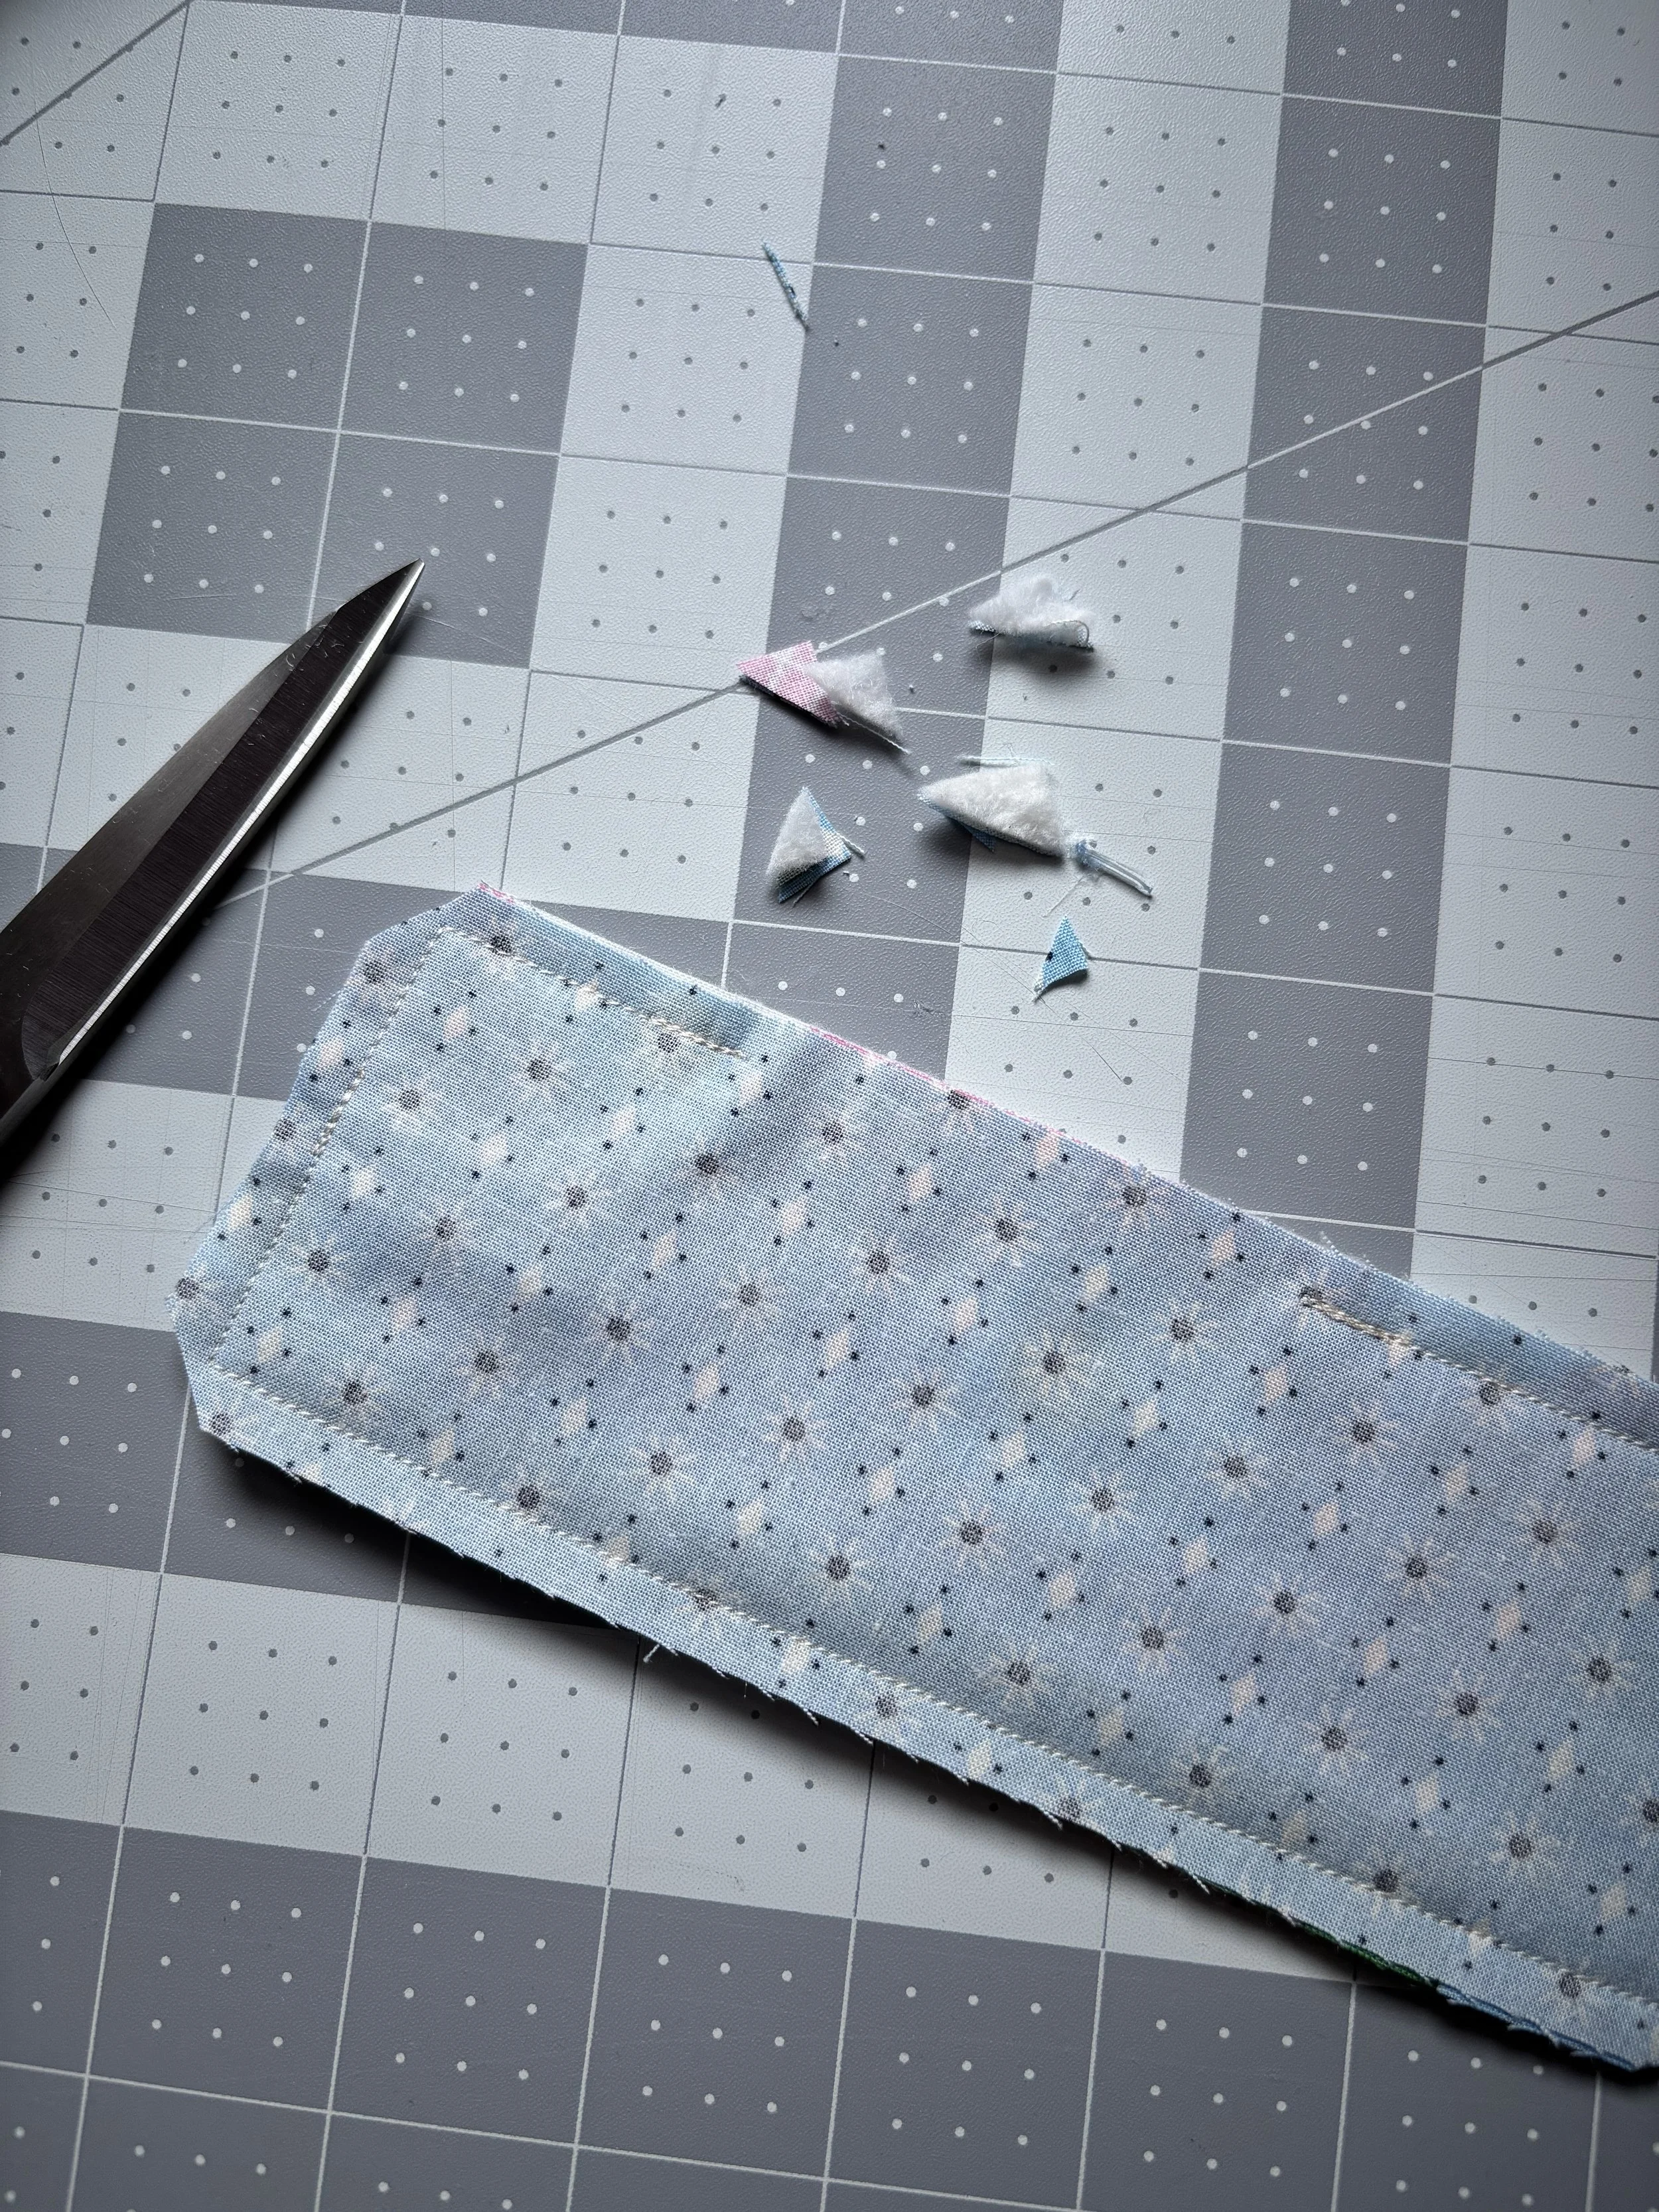
Trim corners to reduce bulk. Turn right side out and press.
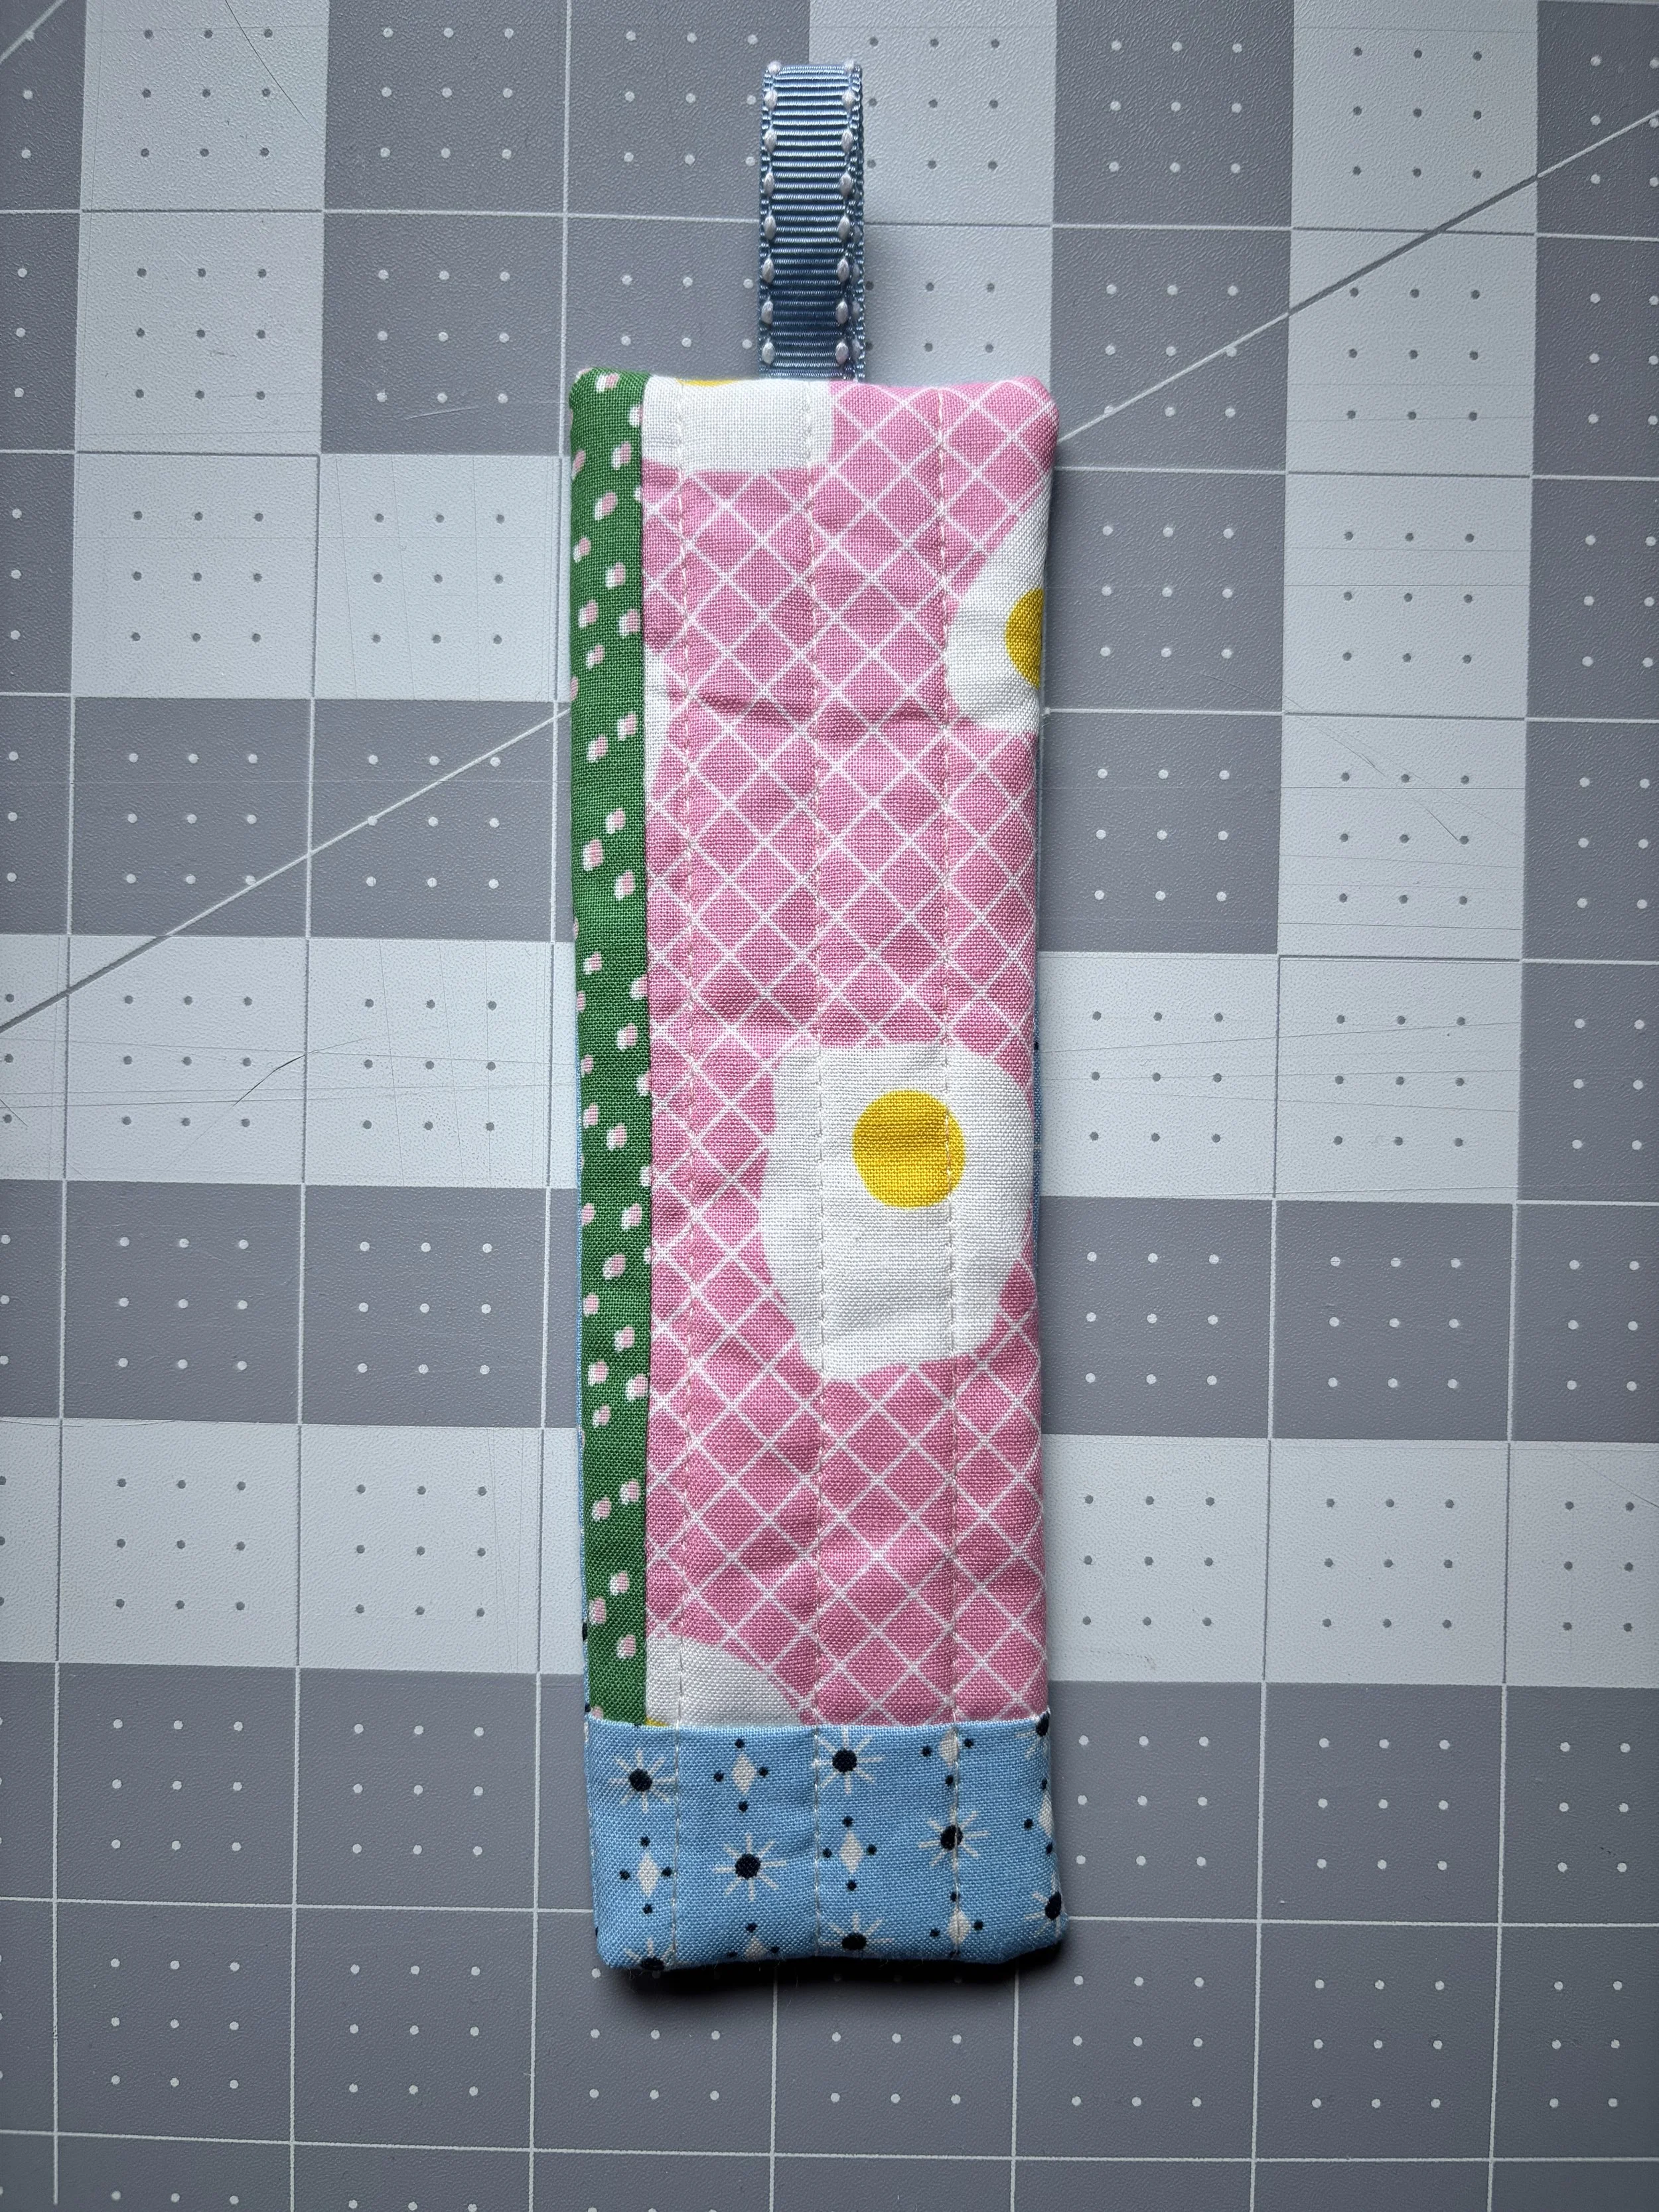
Edgestitch around the bookmark using 1/8” seam allowance to sew the opening shut.
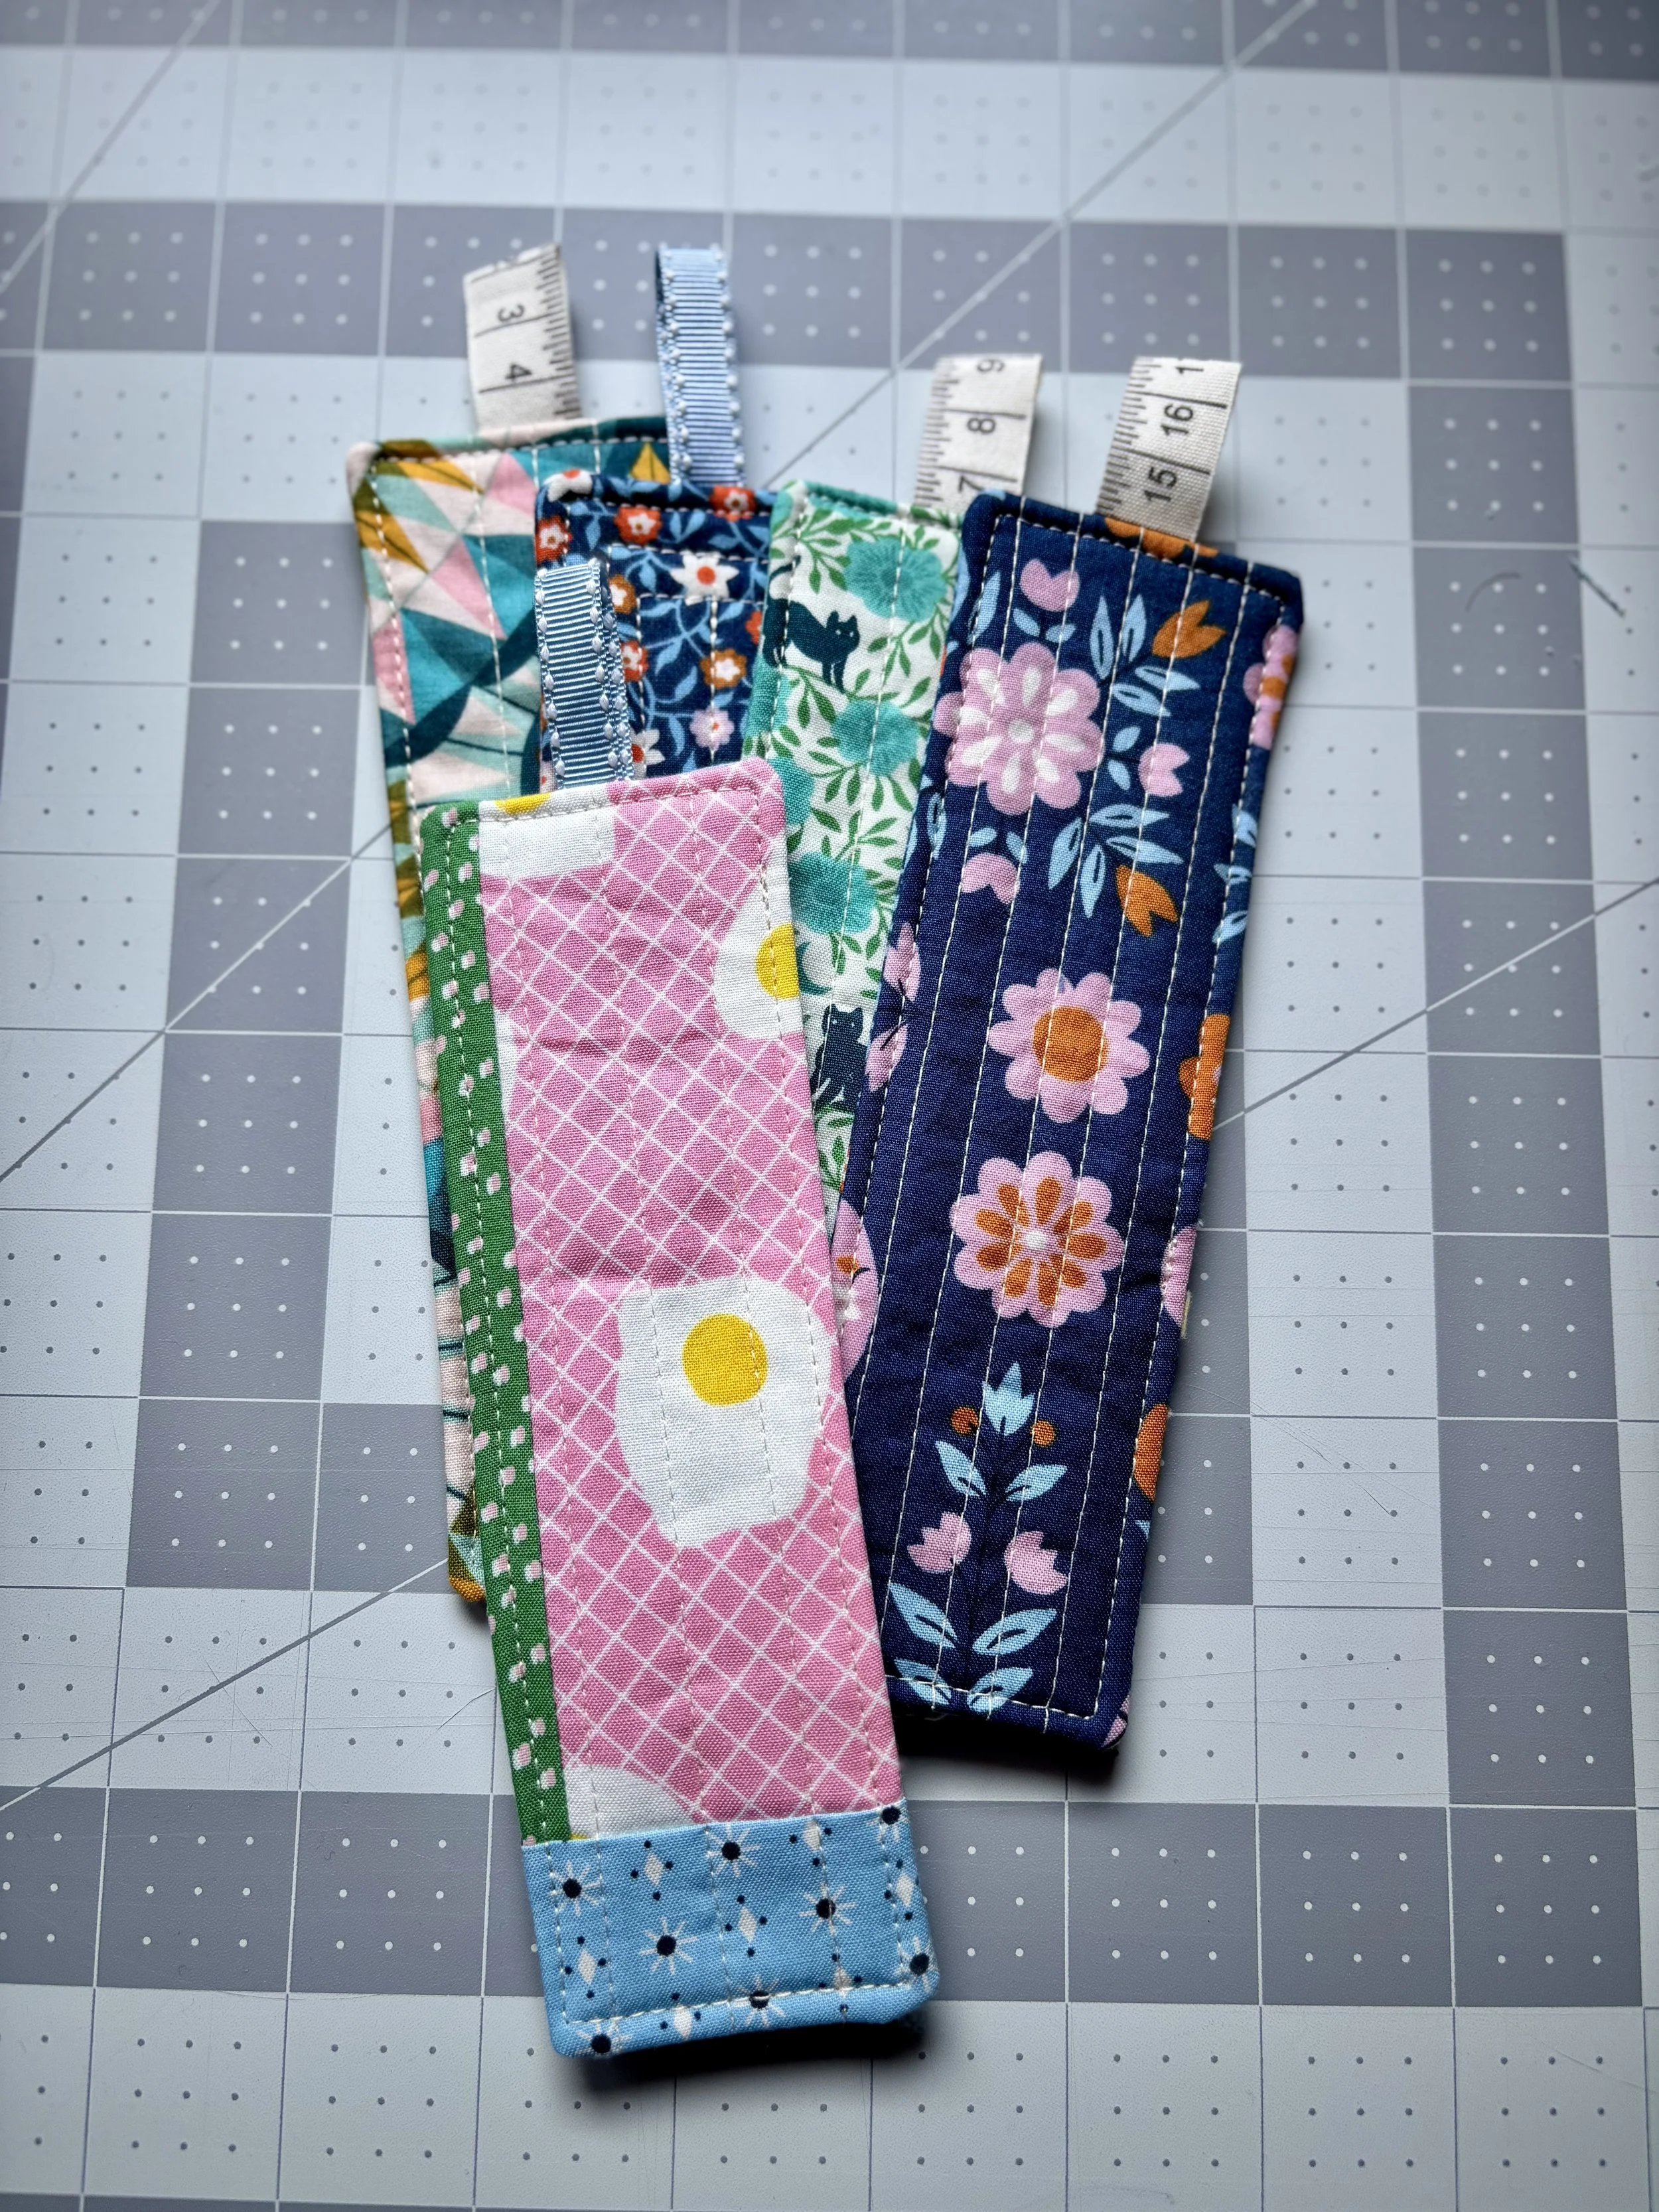
That’s it, you’re all done!
A quick, useful project that turns scraps into something you’ll reach for again and again.
Made one of these? Tag it #nthdegreesewing so I can celebrate with you!